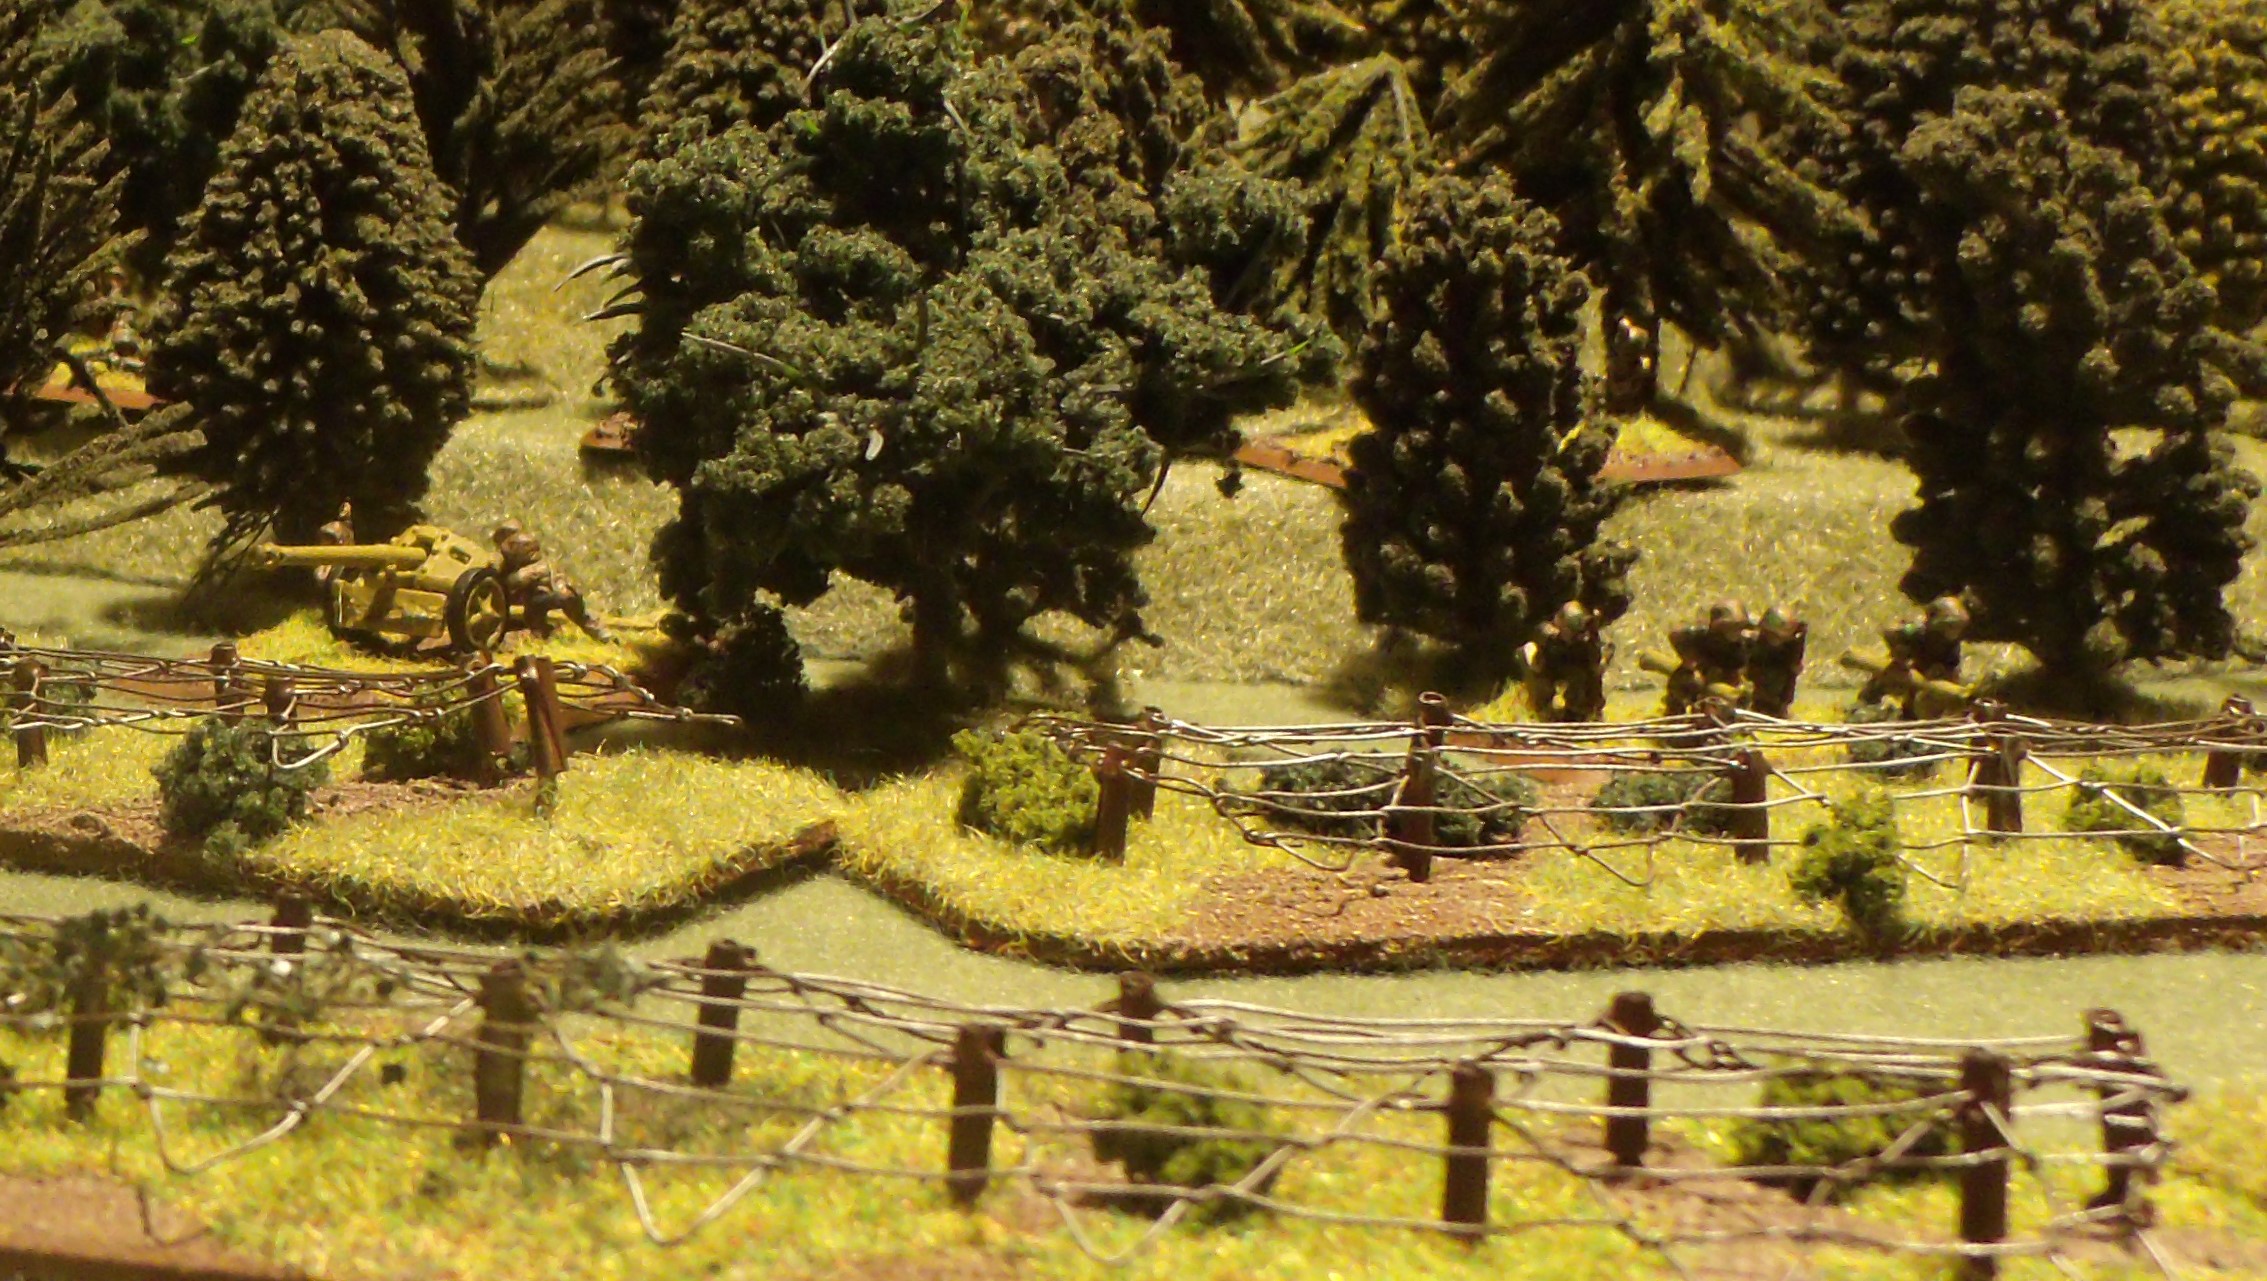
Now that you have decided on a wire entanglement pattern that you want, it’s time to start actually making it. The following is a recommended sequence to use while making the particular pattern that we used. There is no set way to do this, so feel free to make any changes that make sense to you. This is just the sequence we came up with after making 16 of them.
The basic technique for making the wire obstacles has remained mostly the same since the earlier article with a few changes. The experimental ones were made with 24 gauge wire and we ended up using a much smaller 28 gauge wire for the final ones. The clamping system was also changed to running a third wire down the back side, it’s a little more confusing with the extra wire but it’s also a lot faster to do. The method for making the posts remained the same, as did the technique for running the wire through the posts.
Once your loom is loaded up with posts, start by running a length of wire down one side of the posts. Make sure that you have a good arm’s length of wire at each end of the posts, then cut the wire off of the spool.
Take one end of the wire and run it through the other row of posts.
Connect the two rows of posts using a zigzag pattern.
Using a separate loop of wire taped to the back side, begin running wire to the outside edge in a zigzag pattern.
After going through the post, make a small loop and start connecting all of the center zigzag lines. The line should be about one third of the distance between the previous lines.
Continue down to the end of the loom.
Now begin the first outside zigzag on the other end with the other wire. It looks a little confusing, but it’s just a triangle that starts and stops at the same post.
Using that same wire, begin the zigzag on the opposite side from the last one. Only do the first one and stop for now.
Using the wire that connected the zigzag wires, add the last two wires (that were just added) to the line. Now loop back and complete the post line. This will set you up to do the zigzag edge opposite to the other side
Now work your way down the edges, alternating sides as you go.
The back side will look something like this with the extra wire being used for the clamping system zigzagging back and forth as you make progress down the sides.
In the next installment of this series we will go over the final steps to finishing the wire entanglements.


