


Portals are very abstract concepts. How do you represent a doorway to another space, place, time, or dimension? Clearly here we have plenty of room for artistic leeway. Since they don’t have any real universally defined features, you can make them as simple or complex as you want. No matter what you choose to do, you will end up with an interesting piece of terrain that will look cool, which can often lend themselves to some creative house rules if you feel the need to spice up your games.
")
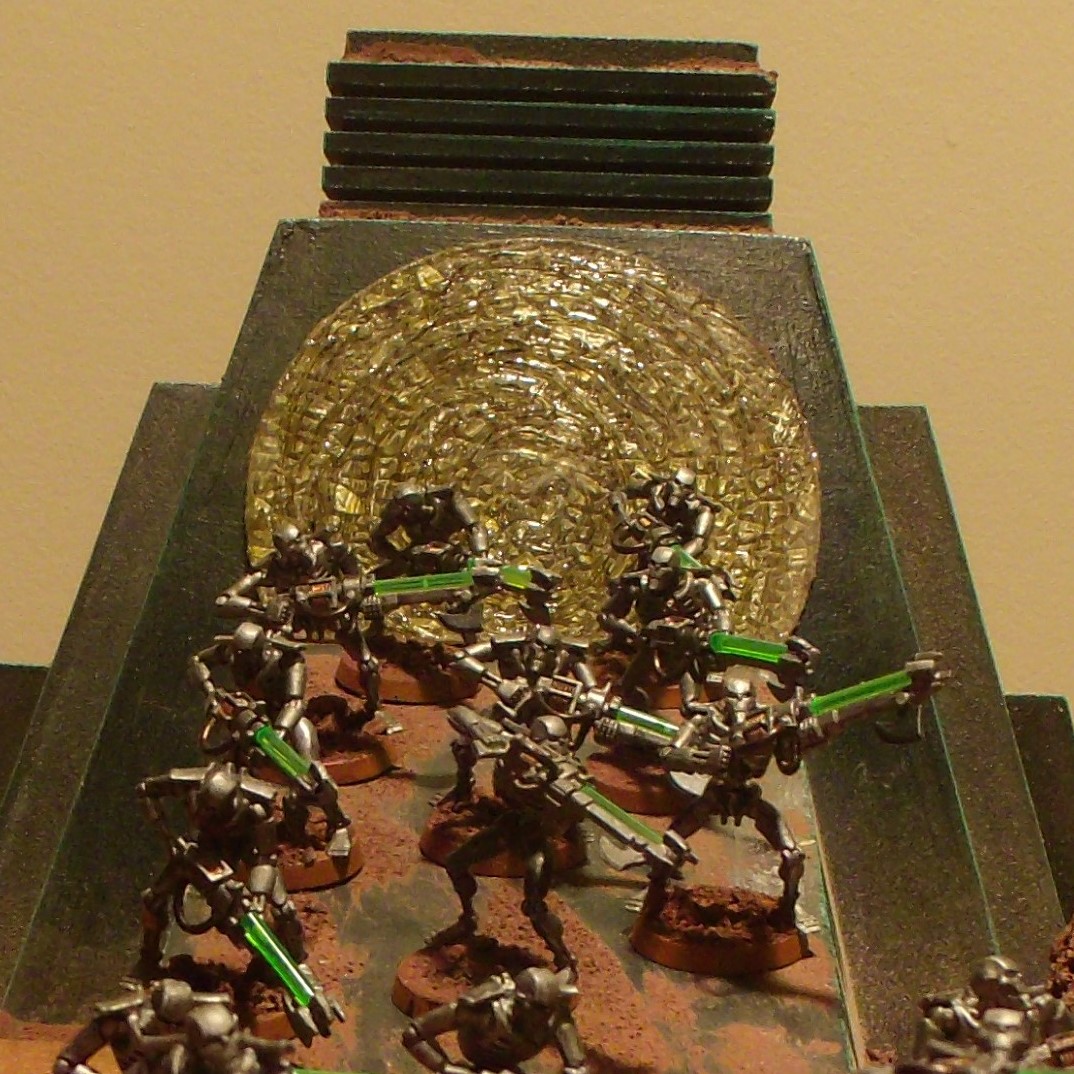
To make a portal like ours, the first thing you will need is a piece of clear plastic or glass with the pattern/texture that you want your portal to have. In this example we used a piece of a diffuser from a florescent light fixture. They can easily be found in the lighting section of any home improvement or hardware store. (We used some wash on it to show the pattern in the plastic a little better.) A hole saw was then used to make our appropriately sized disks, but you can also cut diffusers as described here.
Instead of diffusers, you could try using a round mirror. A mirror will give you a lot of reflected light, but it won’t give the same light scattering effect that the diffuser does. If you use something other than a mirror then you will need to paint the back side with the most reflective paint you can find. Silver usually works best, but that can depend on the effect you are going for. Don’t be afraid to experiment a little!


The front side was given some texture by painting on some Water Effects. A clear epoxy, or even some clear silicone caulking can also be used. Silicone does tend to hold on to dust so if you use it you may want to consider sealing it with something. Use a fairly thick layer of texturing material because it has a very profound effect on the final appearance of the portal. In order to illustrate this point we will do two disks one with a thin coat and one with a thick layer.

Dragging a toothpick or similar object through the Water Effects before it dries can easily add an interesting design to the surface.


Once dried simply paint it in the desired shade using a very thin wash, or preferably a clear paint. These were painted using a wash, and have a much darker result than if we had used a clear paint (like Tamiya Clear, or something similar)
