
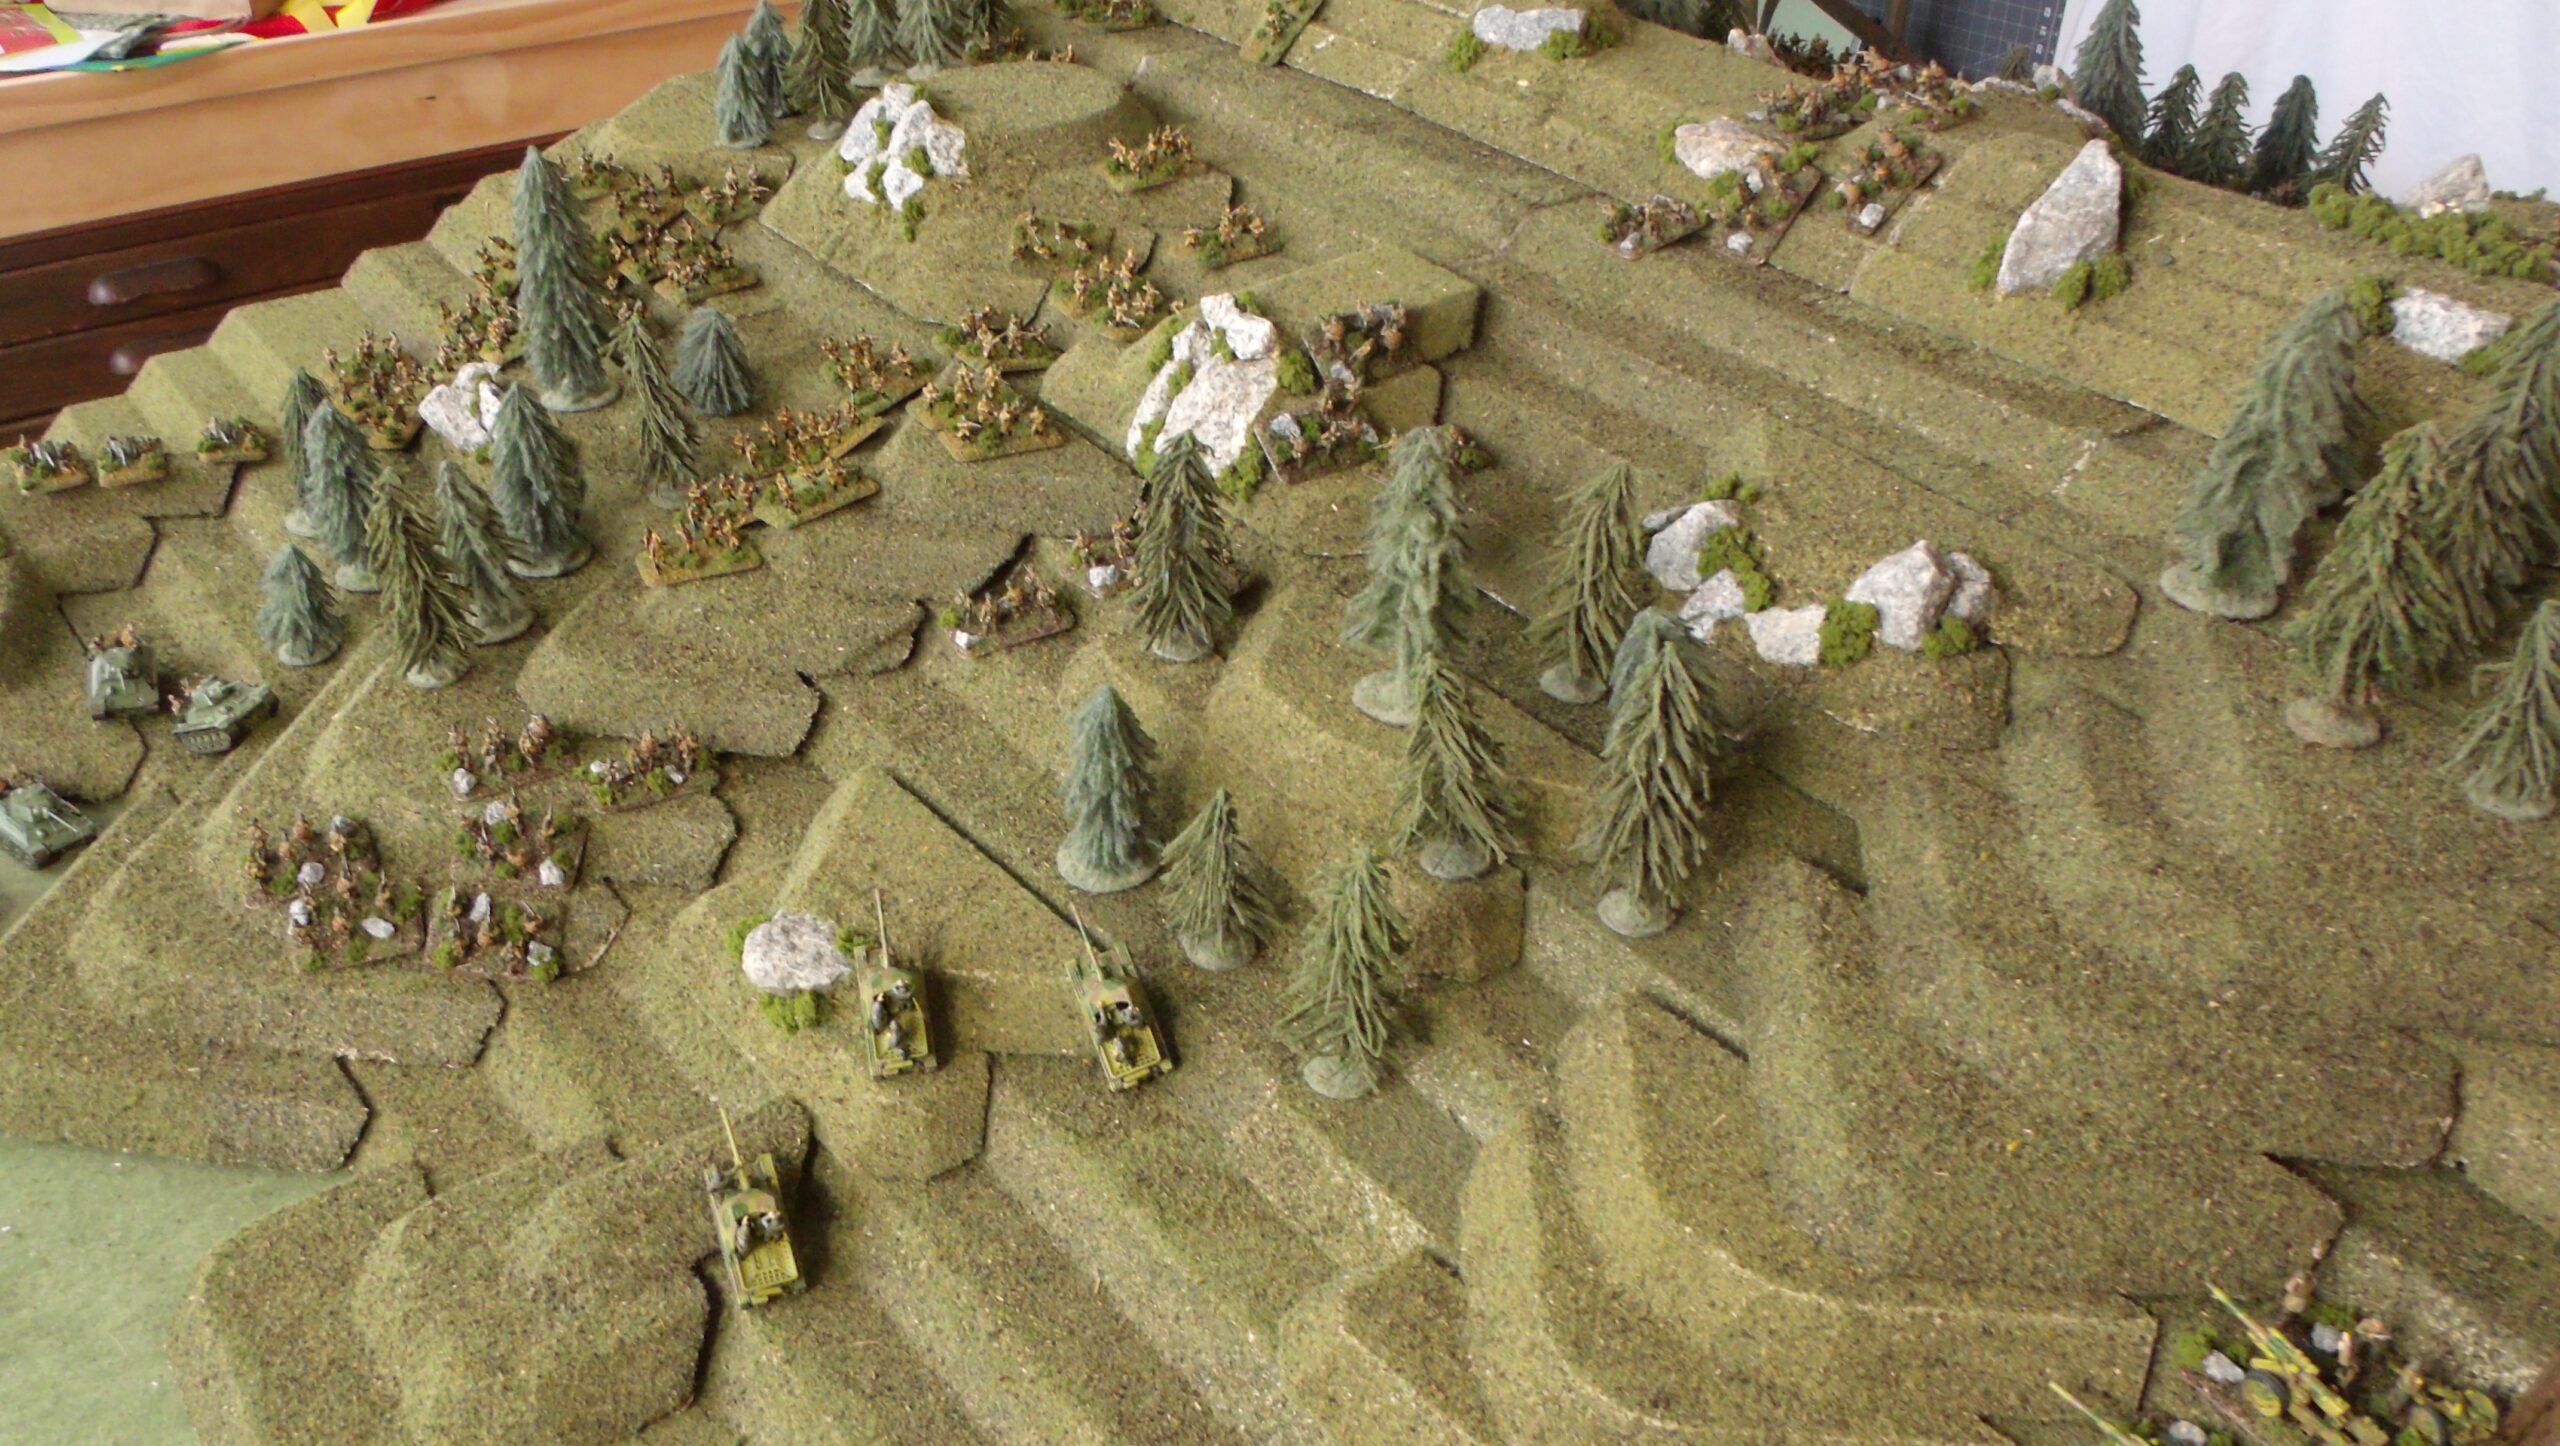
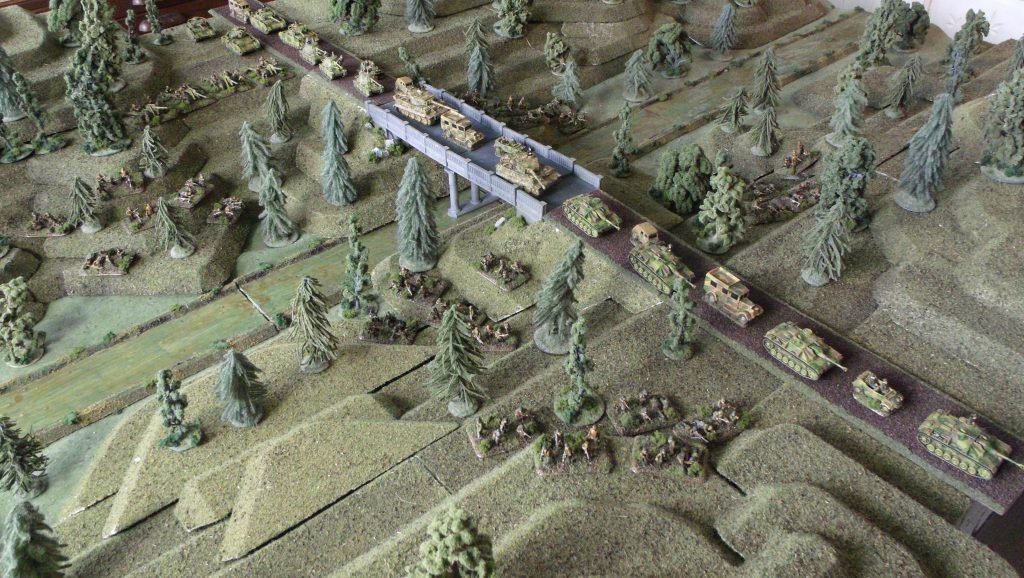
The Base Layer is used to form the bulk of your mountain, and it is crucial they be as uniform as possible in shape and size. This also applies to the contour cross-section of each tile. We made ours with a fairly steep slope with large flat spots between. This allows for easy placement of terrain and miniatures, anywhere on the tile. Having flat spots is essential to the ability to place tall terrain on a slope. Keeping your contour intervals uniform is crucial to the placement of the detail pieces on those slopes.
We normally play on a 4 x 6 table so it was important that the tiles be able to conform to those dimensions. Having 2 x 2 tiles would have worked, but also would have been harder to store due to the large size, and allow fewer possible configurations. We settled on 1 x 1 tiles as the best standard size for our base modules.

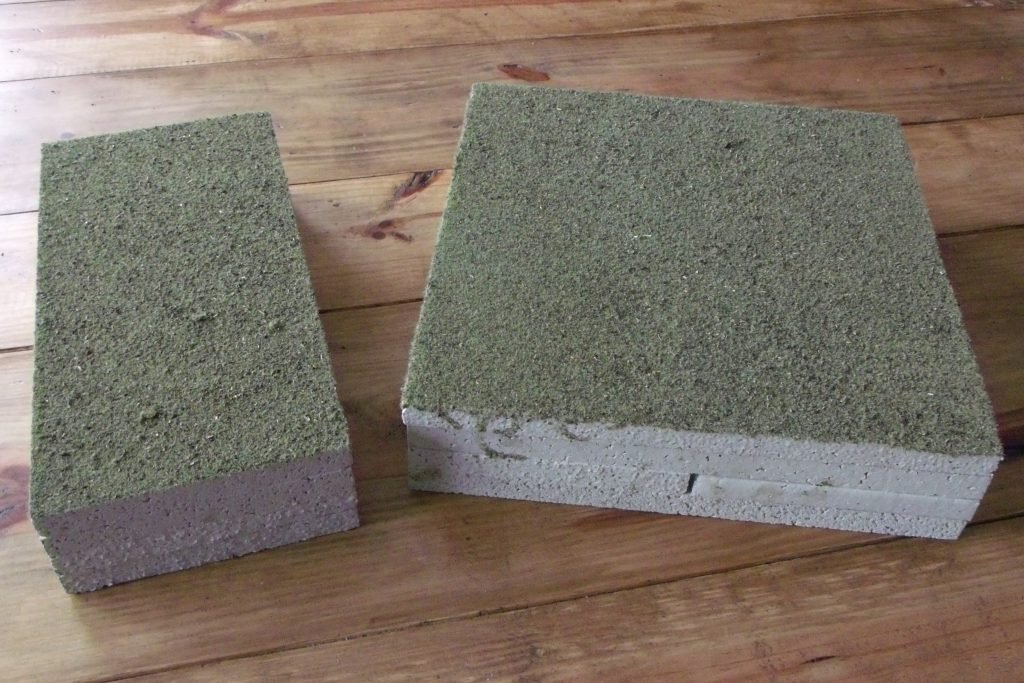
Each tile is made by gluing four pieces together with special attention paid to lining up the corners as accurately as possible. We used a 45 degree bevel on the leading edge of each piece because it takes up the least amount of space and still looks good.

Once the glue had dried we painted and sealed them using a tinted PVA primer (usually used on drywall). The top surfaces were then flocked and sealed using a 50/50 mix of PVA glue and water.
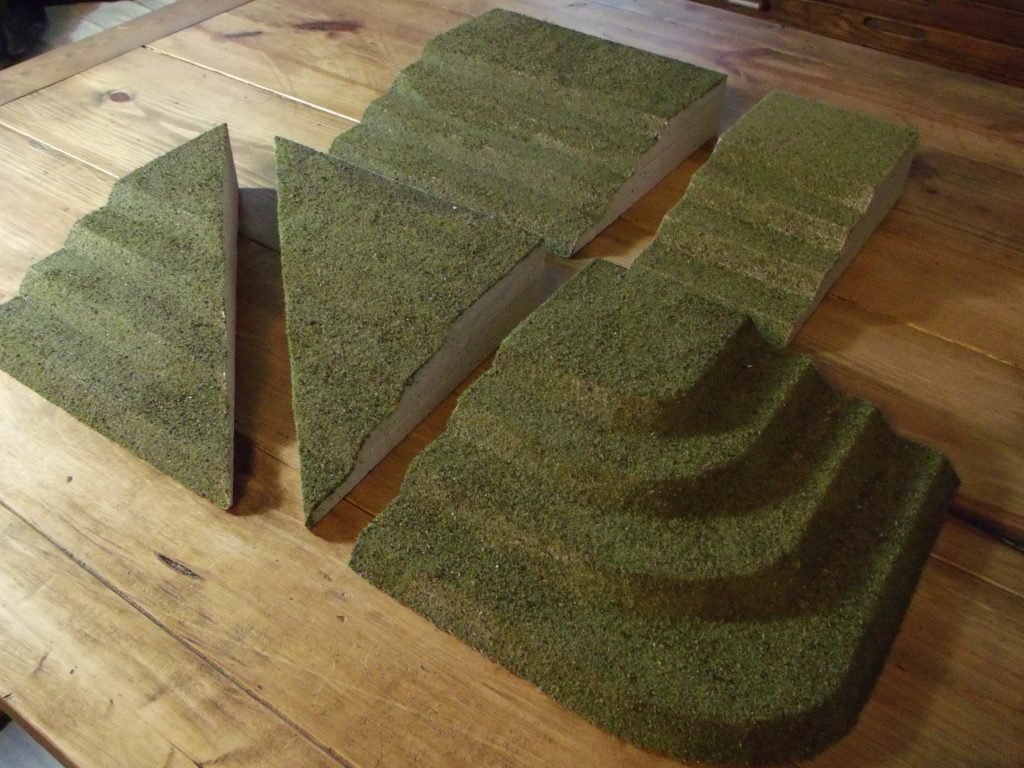
The base layer also needed several specialty pieces to give it a little more flexibility. These consisted of half blocks, 45 degree blocks, and corner pieces.
Flat spacers were also made to be used as supports when stacking base layers, and for use as larger flat surfaces. You can get even fancier that that if you want, but for the base layer it isn’t really needed. You’re probably better off putting that effort into the detail pieces that we will talk about in the next article.

