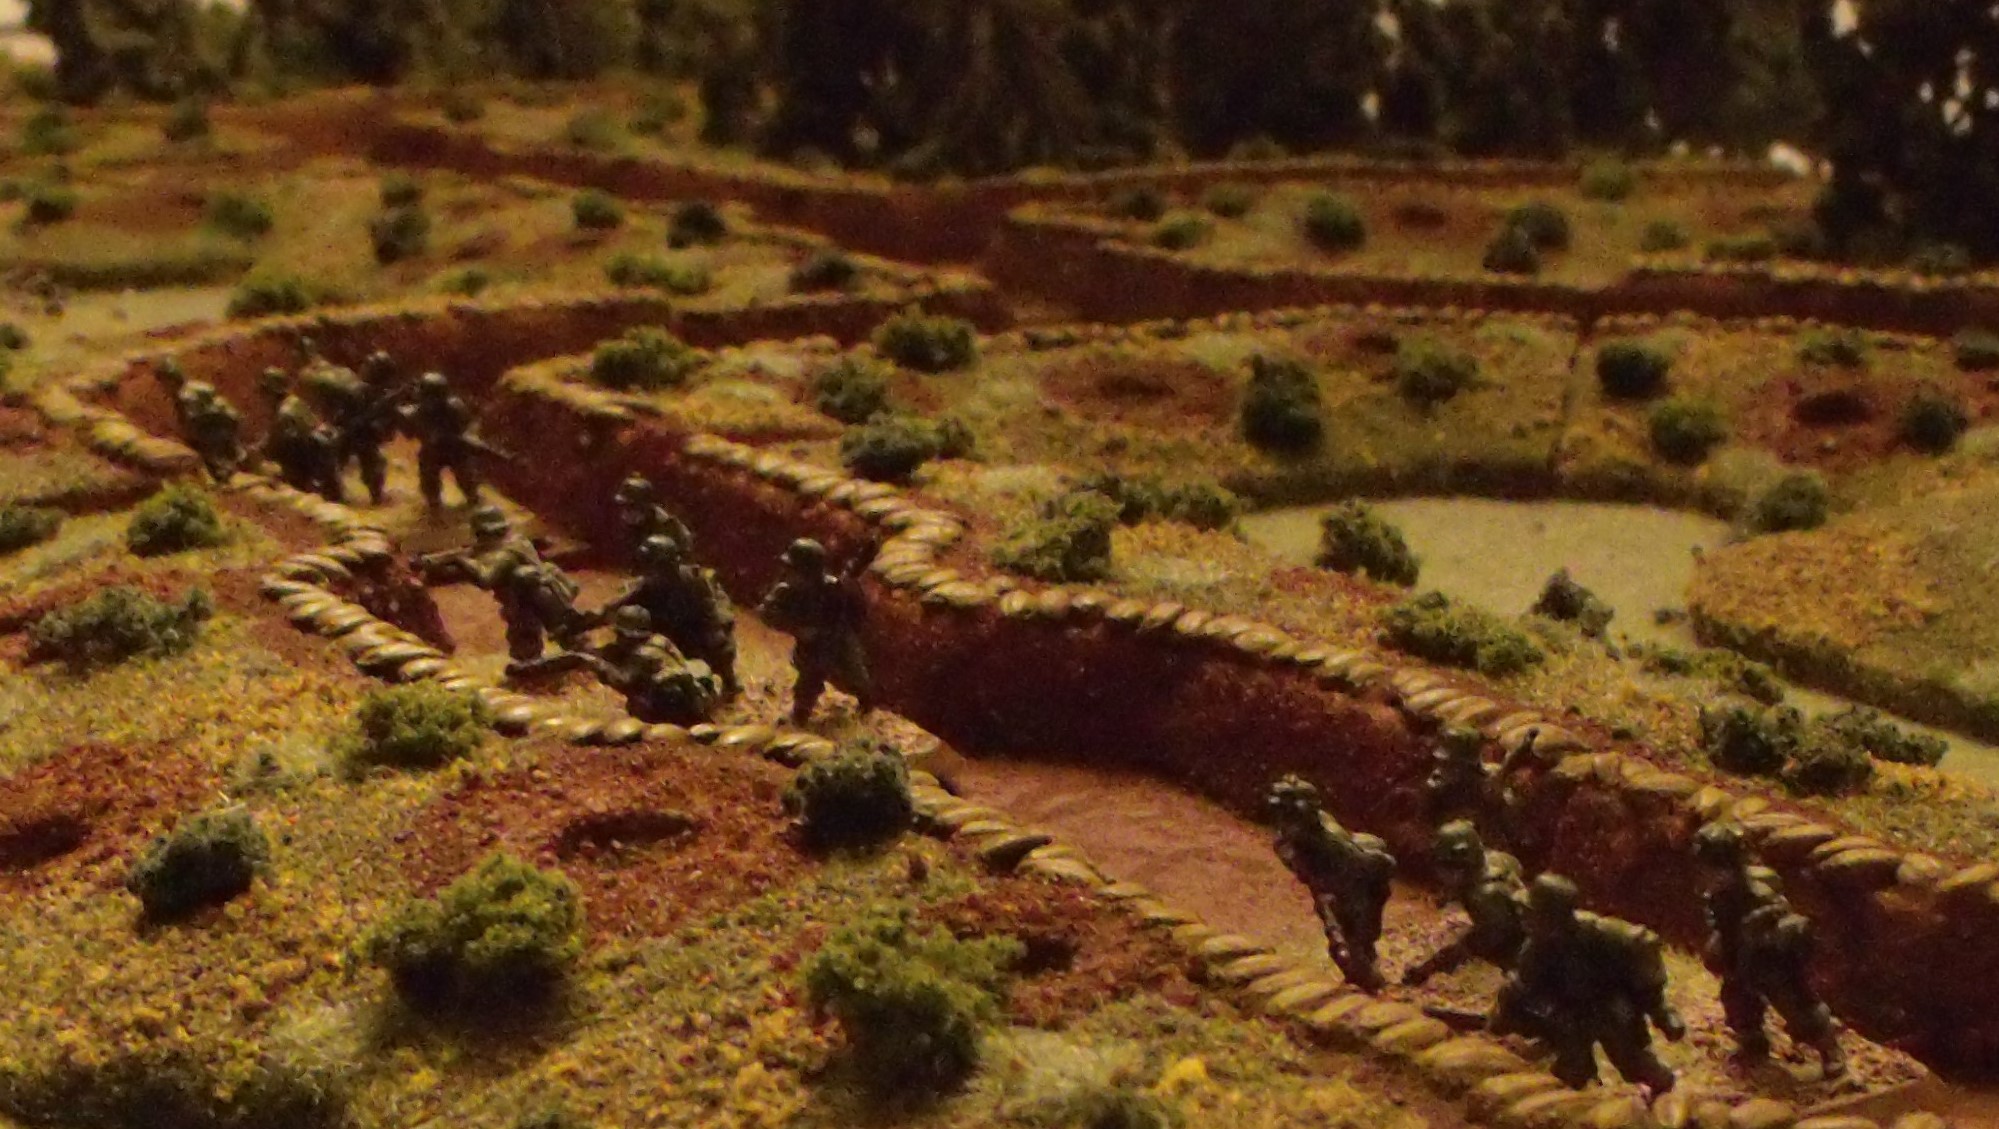
Now that you have decided what type of trenches to make, it’s time to start making them. The first step is to wash the oil residue off the resin pieces. Because we will be using PVA glue (it doesn’t stick too well to resin) the second step is to paint the pieces with a primer. The third step is to add the larger details that will eventually look like they are embedded in the ground.
We used sandbags to form our parapets with. The easiest way to model this in 15mm is to use grain. The pile on the left is barley, it’s a very good grain to use. It has a very pronounced crease on one side so make sure you pay attention to what side is up as you glue them down. The grain in the middle is short grain rice, it’s a little smaller than the barley and a little flatter. The grain on the right is long grain rice, it’s not very suitable for use as sandbags and is only shown for comparison purposes.
We used the short grain rice for ours because we think it looks better. We suggest looking at several grains before you decide what you think looks best.
The rice does have a large number of broken grains in it that need to be separated out so we suggest doing that before you start gluing them down.
Next simply glue them down wherever you want them. We positioned them perpendicular to the edge to make the line wider and a little more prominent.
The fourth step is to seat them so that they look like they are partially embedded in the ground. This can be done in many ways (using putty is a very popular method). We like to simply use PVA glue and sand. Start by applying the glue as close to the object to be embedded as possible.
Next use a brush to push the glue in under the object, then feather it out away from the object, then add sand. Because we decided to not use any revetments, sand was also applied to the sides of the trenches.
The first four steps look something like this.
That’s it! All you need to do now is paint, flock and it’s done!
We also added some craters. The article on how to do this can be found at http://18charlie.com/craters-quick-and-simple/


