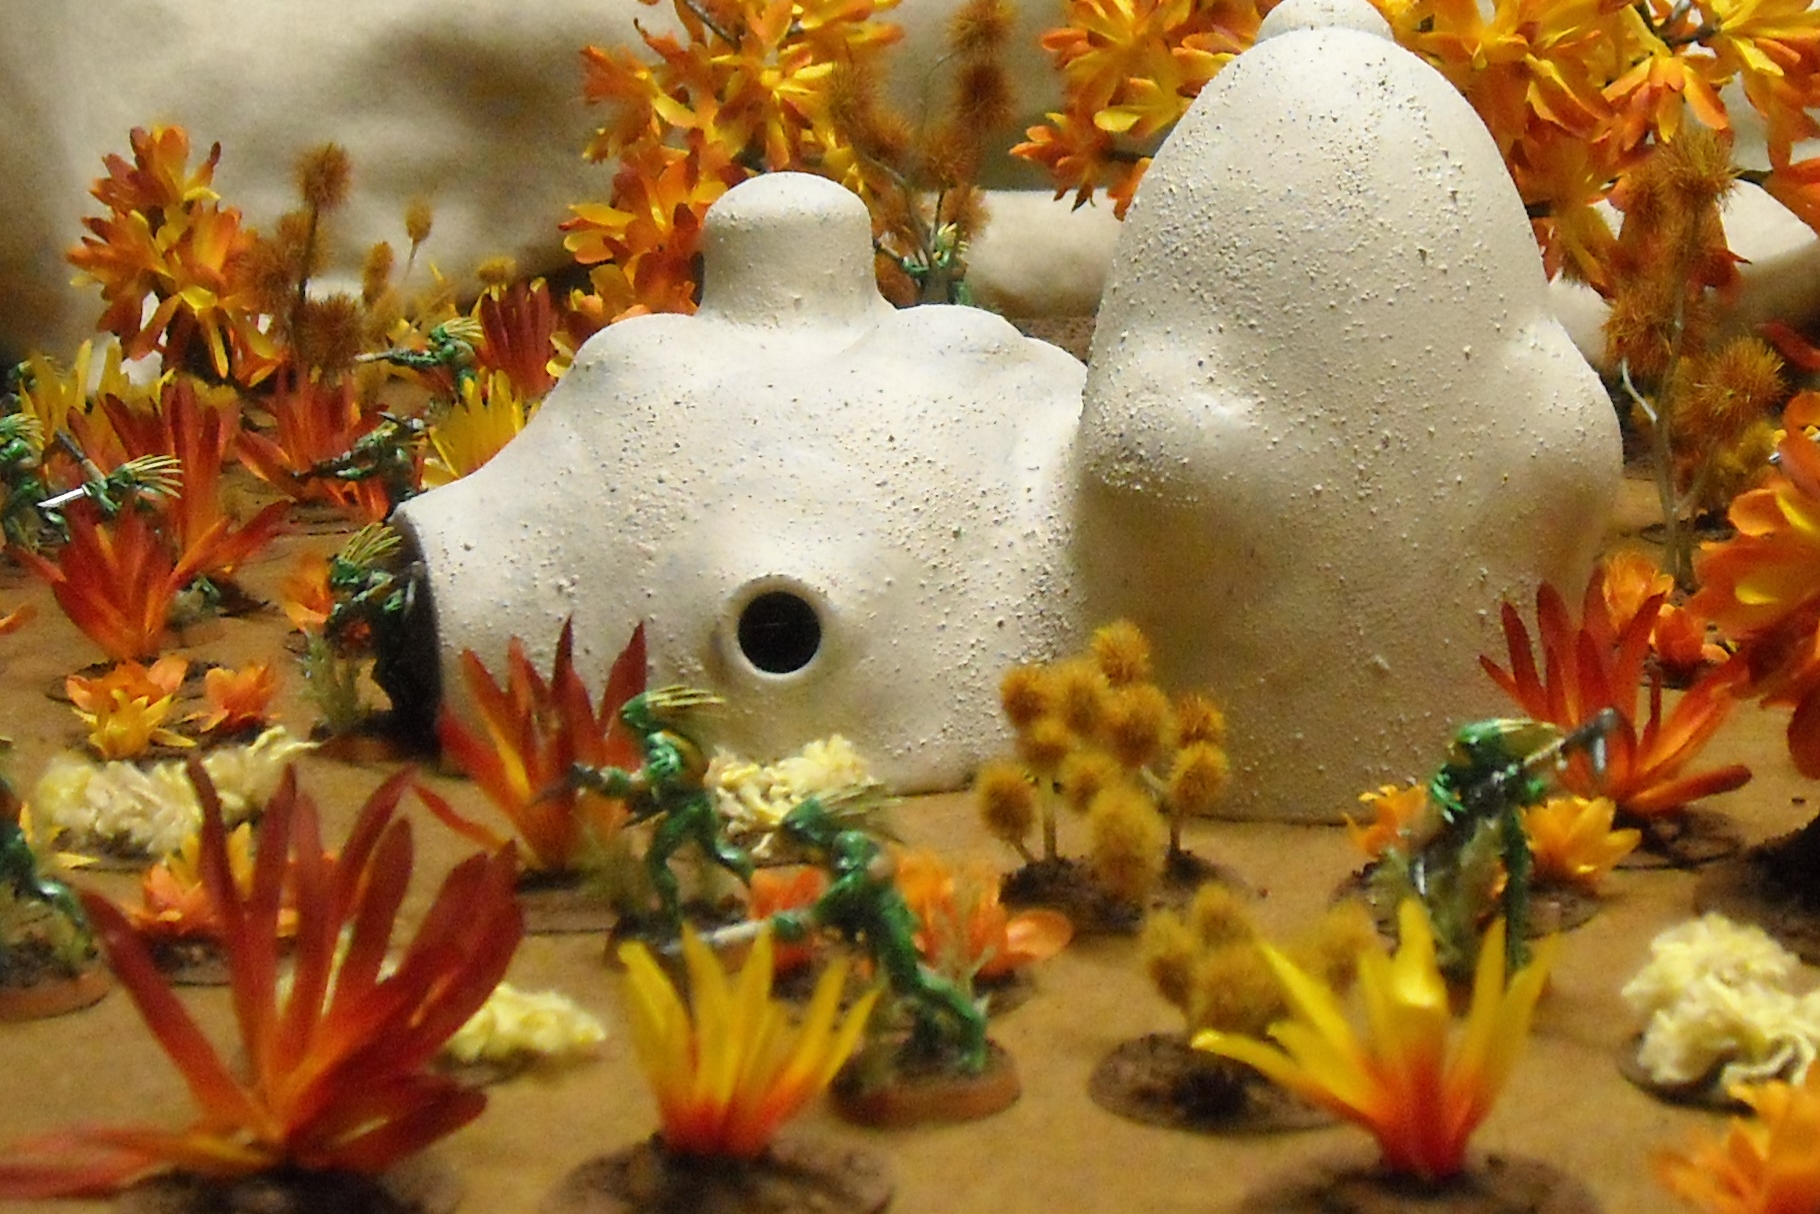
These adobe structures are easy to build and don’t cost very much to make! Hopefully this tutorial will give you some ideas and get you started on making your own structures. Many different materials can be used in this process so look around the house; you probably have most of the stuff already.
Step 1: The basic shape
We started with a cheap plastic bowl and cup, but almost any type of bowl will work as long as you have the tools needed to cut it with. Make sure that the bowl you use is rigid enough to cut and not fall apart. If you want to use a paper bowl, glue several layers of them together until you have a decent thickness and rigidity.
Step 2: Embellish it
You can add a lot of interesting shapes to the structure, depending on what you use. We used wooden domes purchased at the craft store, but plastic spoons could also produce a similar effect. We used plumbing and electrical fittings to make the windows and door on this building. If you want something a little less perfect looking, use some clay and make the openings less uniform. Cutting holes in the side of the bowl makes it a lot easier to glue the different components together, however it isn’t necessary. We used a hole saw to get the nicely shaped holes, but as long as the piece fits inside it doesn’t have to fit tightly since filler will be used later anyway.
All of the pieces were then glued in place. We used an epoxy to hold the main components together, but any glue that works with the materials you have will do.
Step 3: Shape it
Now comes the messy part! We used a wood putty to blend all of the components together into a more natural looking shape. If you use a powder type putty that you have to add water to it will dry much faster than a premixed variety. Once it dried we sanded it to shape with drywall sandpaper. Any suitably gritty sandpaper will work, however it will quickly fill up with dust if you don’t use the drywall type.
The first coat will develop cracks in it as it dries if you have thick parts. Just keep sanding and reapplying the putty until you get a shape you are happy with. It took us three coats to finally get the shape that we wanted on this building.
Step 4: Texture it
Once you have a shape you are happy with the next step is to add texture. Unless you are really good at blending the different materials together, they will show a seam. The easiest way to hide that seam is by adding a uniform texture to the surface of the structure. We chose to use a very course texture to make it look a little less high tech. The texture was added with a coat of PVA glue then sprinkled with sand box sand. Now you can primer and paint as normal.


