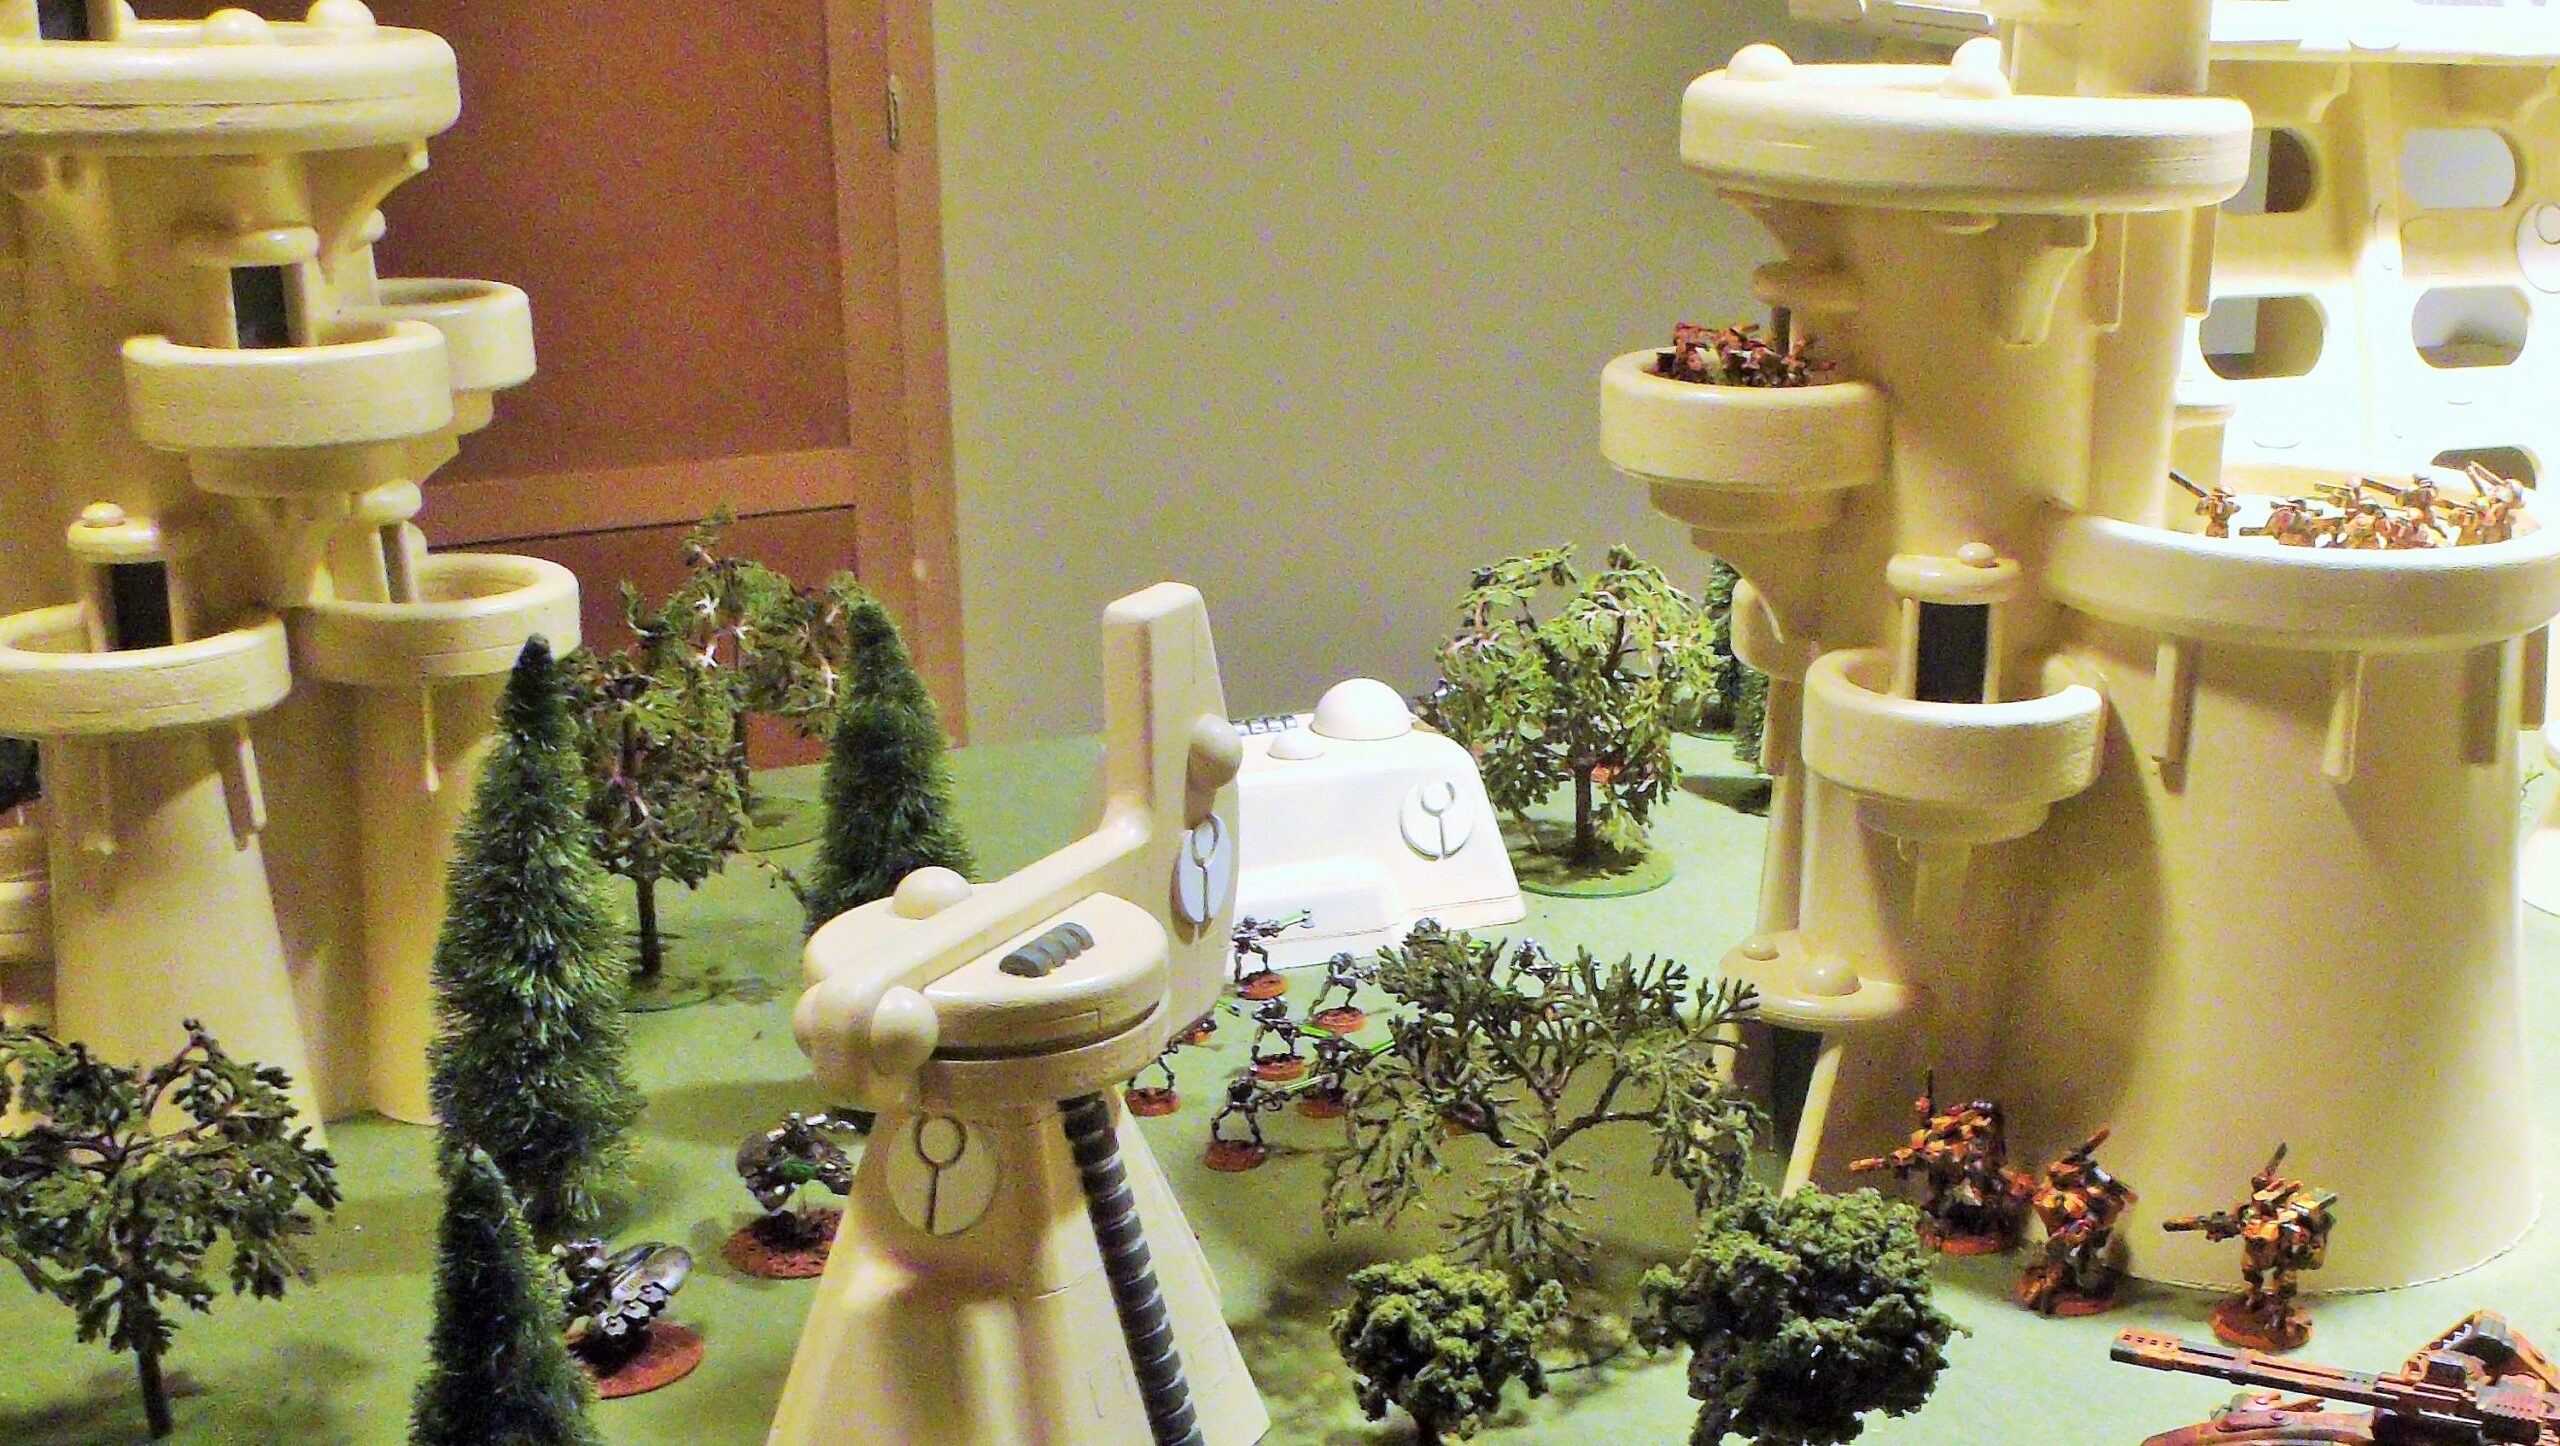
With the main parts of the towers assembled it was now time to start adding the details to the structures. A wide variety of object can be used for this process so always keep an open mind when you are deciding what to use on your own structures.
The elevator shafts were made using 2” PVC pipe with the ends capped with MDF wood pieces. It looks complicated, but is actually fairly easy since the pieces don’t have to fit perfectly. After everything was assembled and before it was painted, we simply used common painters caulk to make everything fit together seamlessly.
The most complicated part of the details to do were the doorways. We made two different sizes since the ones on the balconies had to take up as little room as possible. The larger ground floor entry doors have a sloping wall to link them architecturally to the other sloping portions of the towers. This feature unfortunately had to be omitted from the balcony doors because it just took up too much room. The doors were assembled from four pieces (door, flanking walls, and roof). The back side was then scalloped out using a hole saw that matched the diameter of the PVC pipe the piece would be glued to.
These pieces were made to give some detail to the underside of the balconies. The smaller pieces were simply glued on, but the larger ones required a notch to be cut into the back side for mounting on the curved surface.
The final details were an assortment of wooden craft pieces which added variety to all of the flat surfaces.
Because of the dissimilar materials used to make this project the primering was a little different than normal. Plastic in general, and PVC specifically, is notoriously hard to get paint to stick to. Because of this the plastic portions were first primered with a fusion paint (specially formulated to work on plastic). The wooden portions were then primered using ordinary wood primer (house paint). After that, painting is simple!


