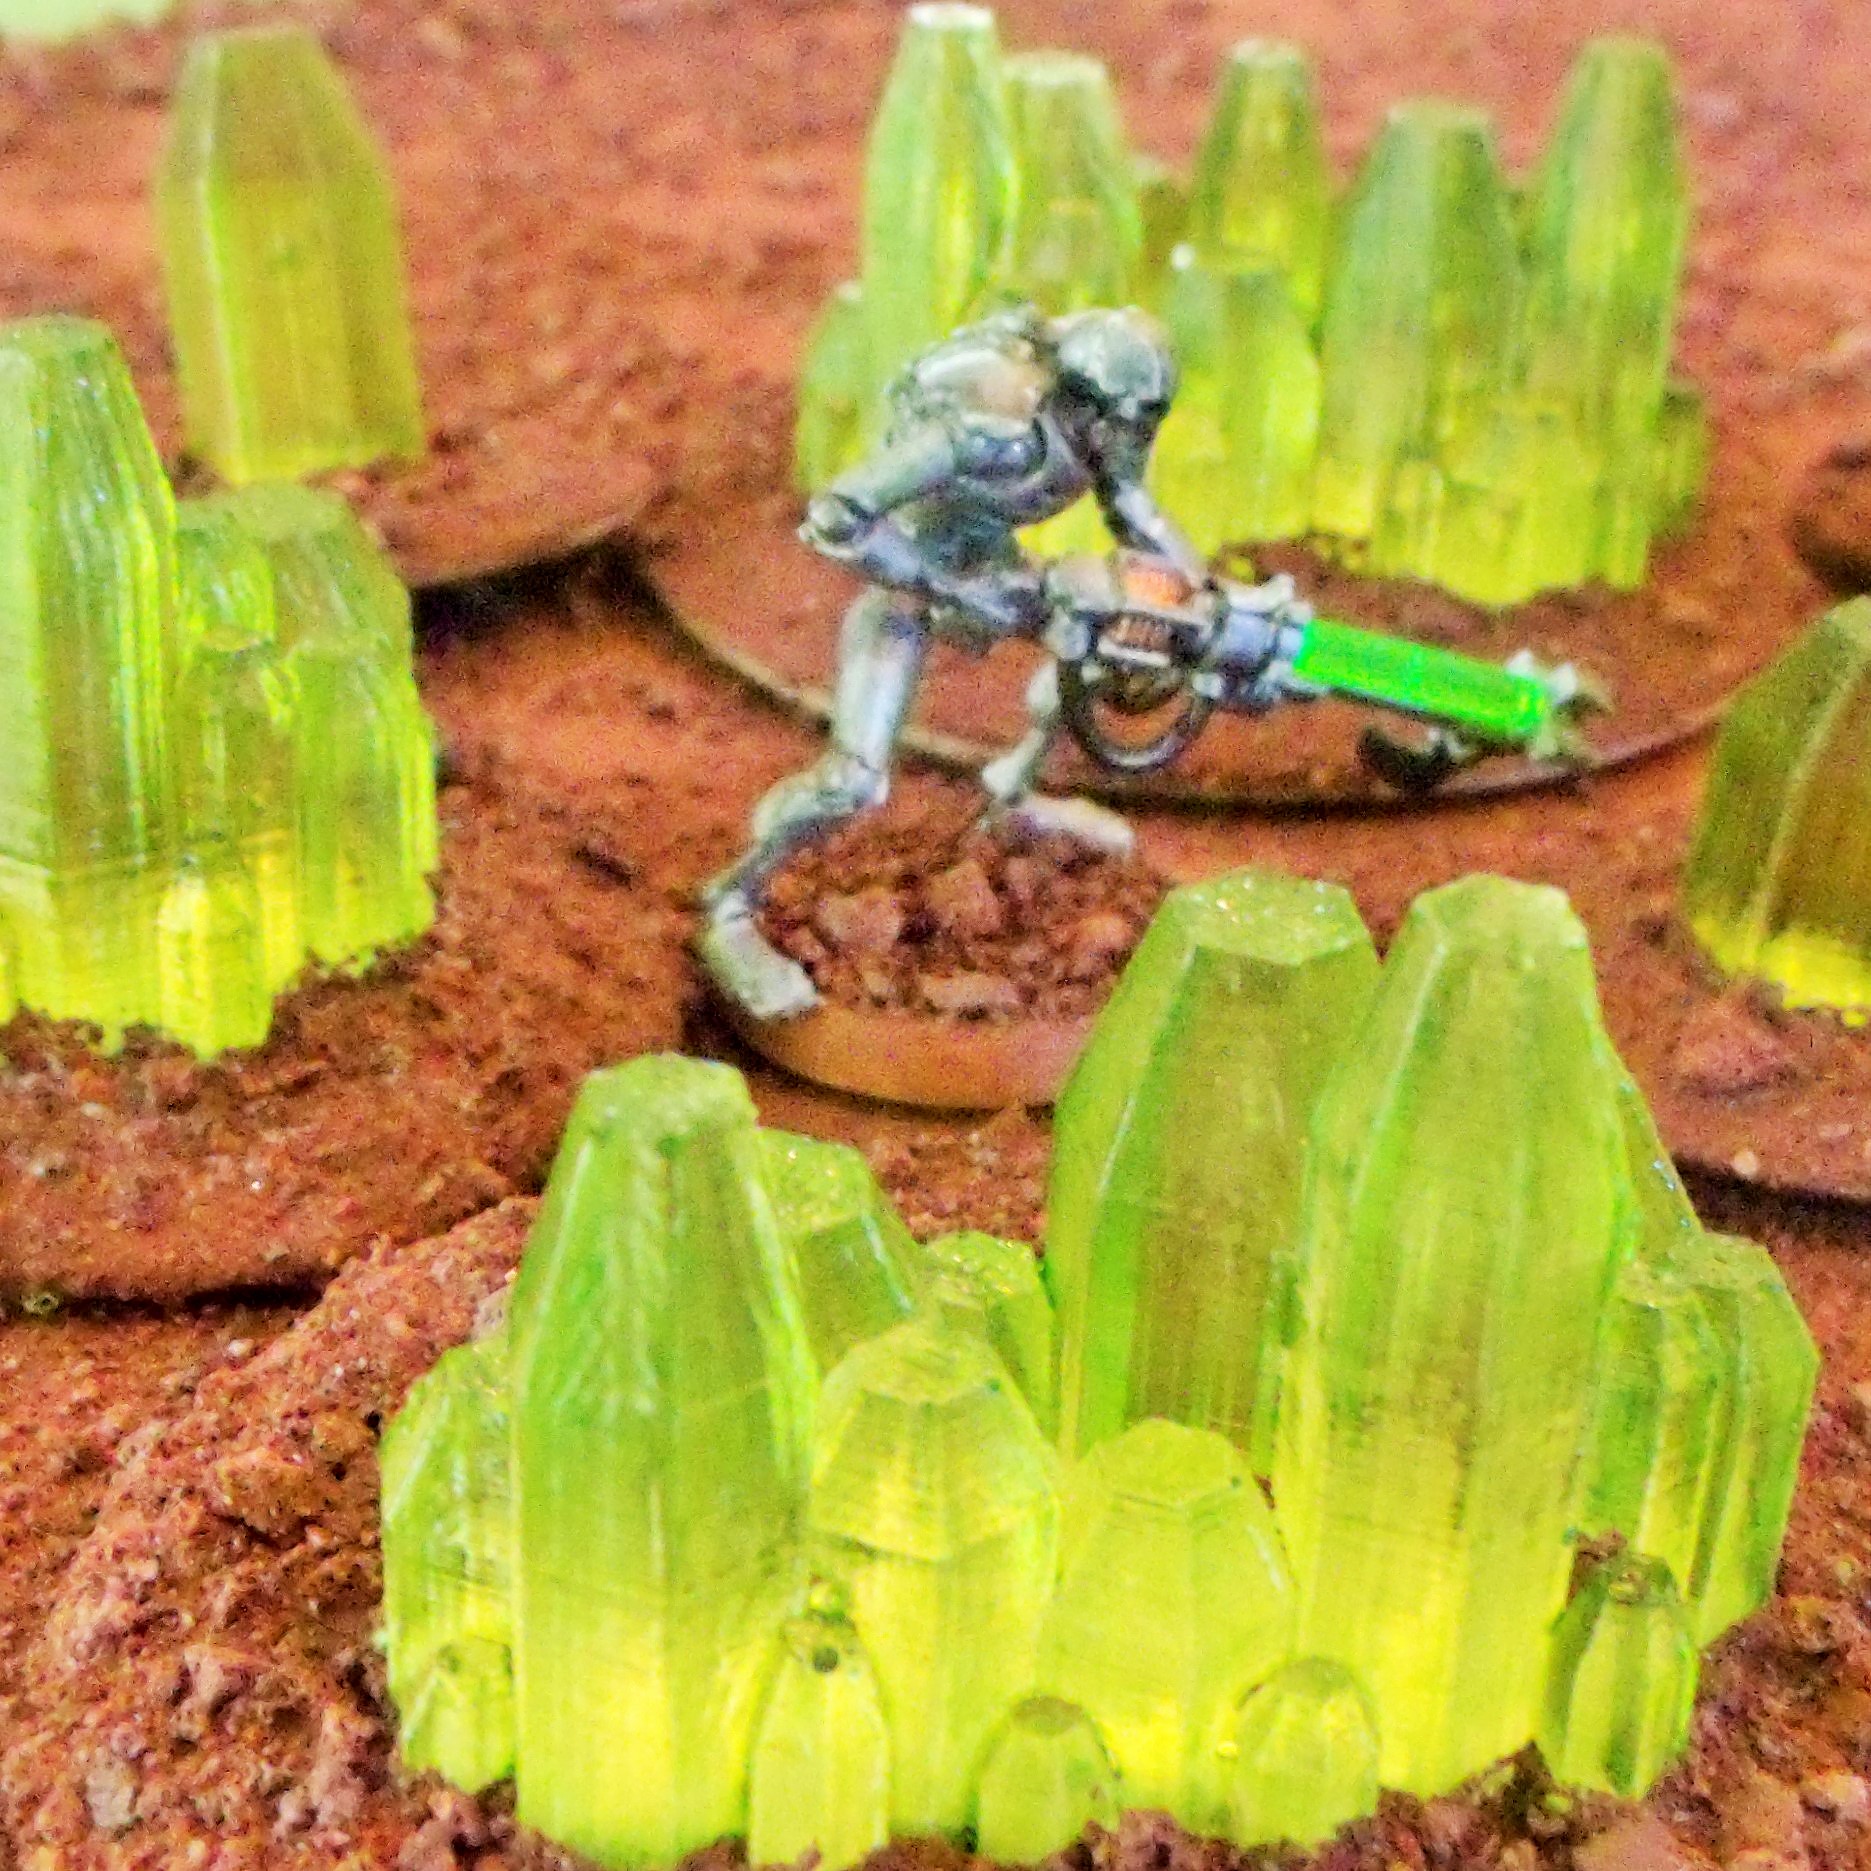
We designed these crystals to be very simple to make and easy to manipulate. All of the crystals were given a vertical orientation for several reasons. The most obvious reason is that it is easier to make a mold if you don’t have any undercuts. Single part molds are the easiest to make and require less time and effort to make and cast.
The sketch was then printed as a 3-D master mold. Instead of printing, we could also have created the mold blocks of wood, plaster, foam, or plastic. Basically anything that you can cut or shape and will give you the necessary shape and surface texture will work.
Finally a two part mold making material was mixed and pored over the form. We prefer to work with silicone rubbers since they are the easiest to work with, but many other materials also work.
Once the mold is made it is very easy to make as many castings as you want. We have used clear casting resin, as well as dental plaster so far in the mold. Another advantage of working with silicone is that almost nothing sticks to it so it’s very easy to cast with.
One really big advantage of having all of the crystals with the same vertical orientation is that they stack up very nicely. They can be combined together in many different configurations to form barriers or large groupings.
These four linear obstacles were made by casting the mold three times. The possibilities are endless with stackable pieces like this.


[…] terrain blog 18Charlie posted a tutorial for 3D printing a master mold to cast tabletop simple miniature crystalline terrain pieces. The final mold was made from […]
[…] father and son team behind 18charlie] have built a lot of terrain from scratch already. ‘Because what the big companies sell are […]