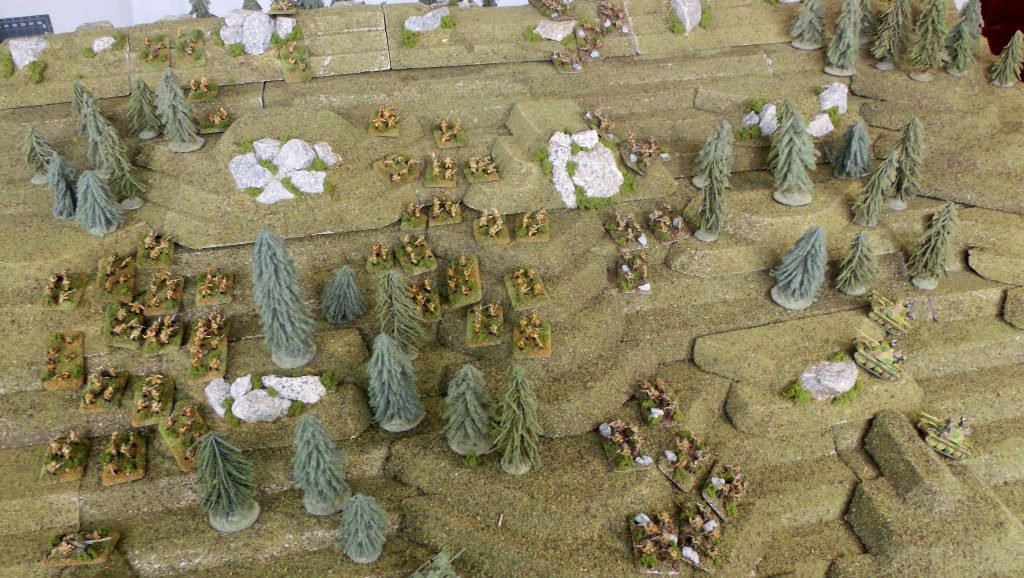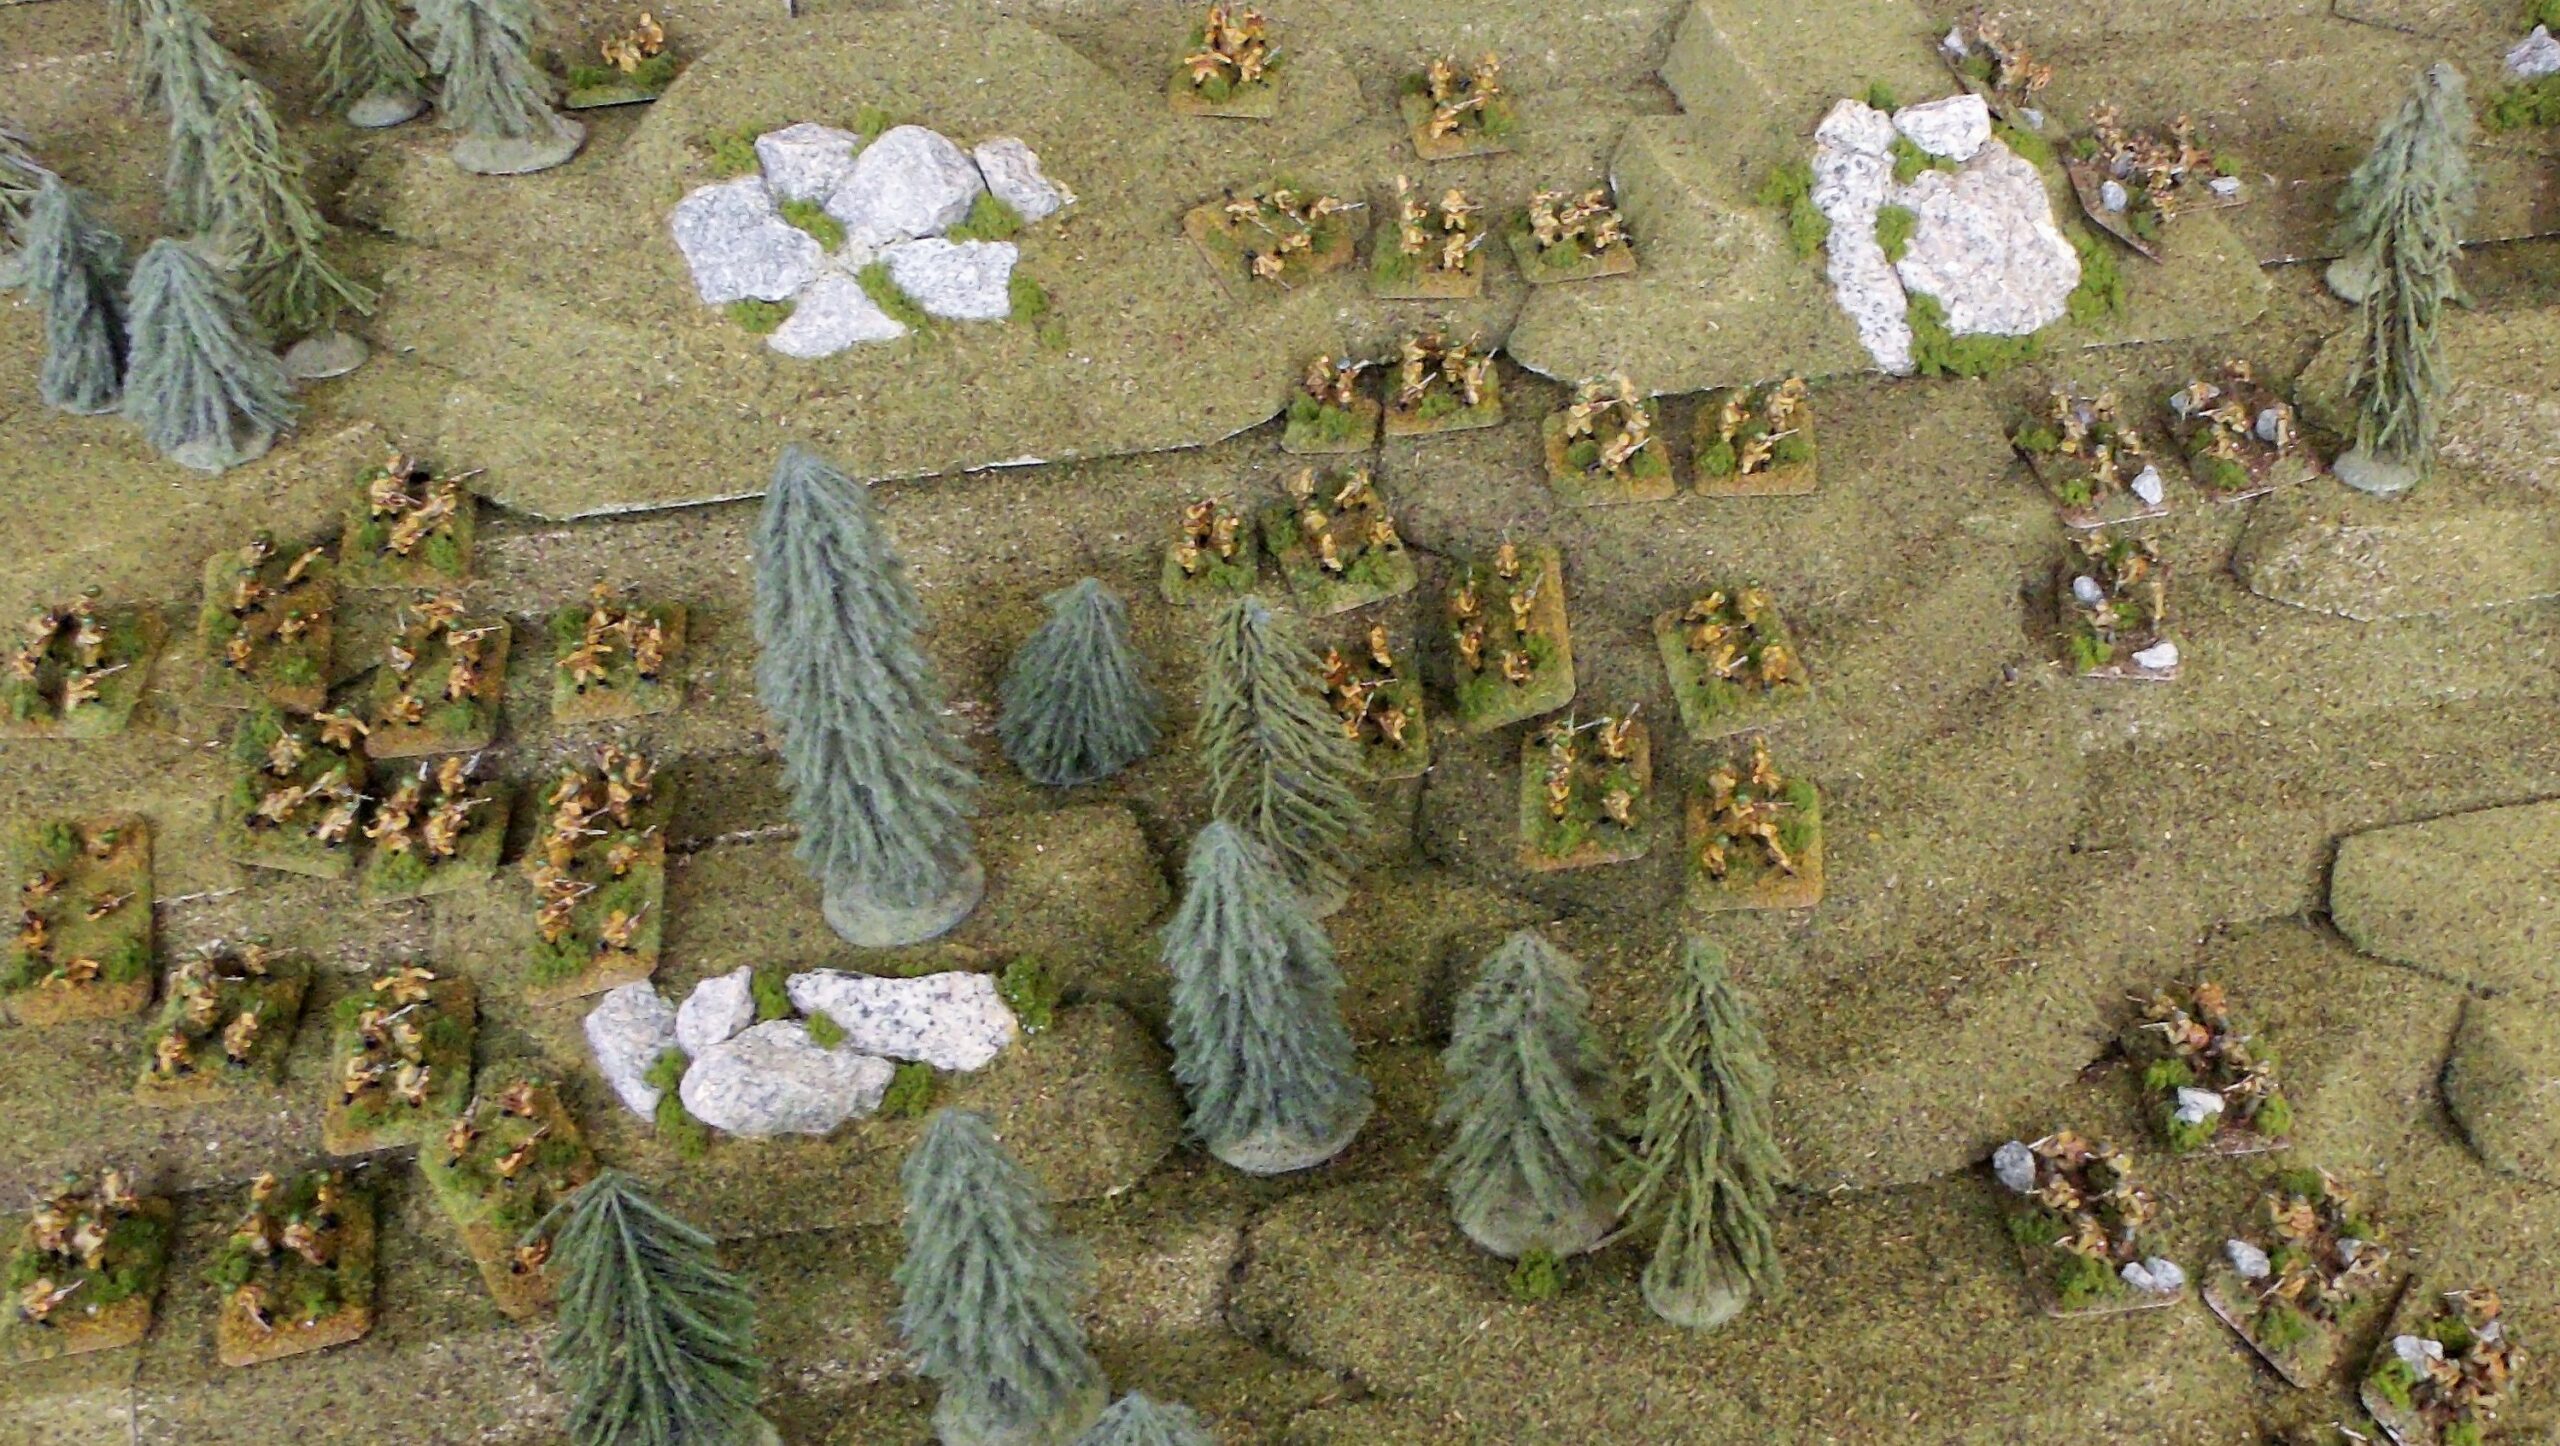
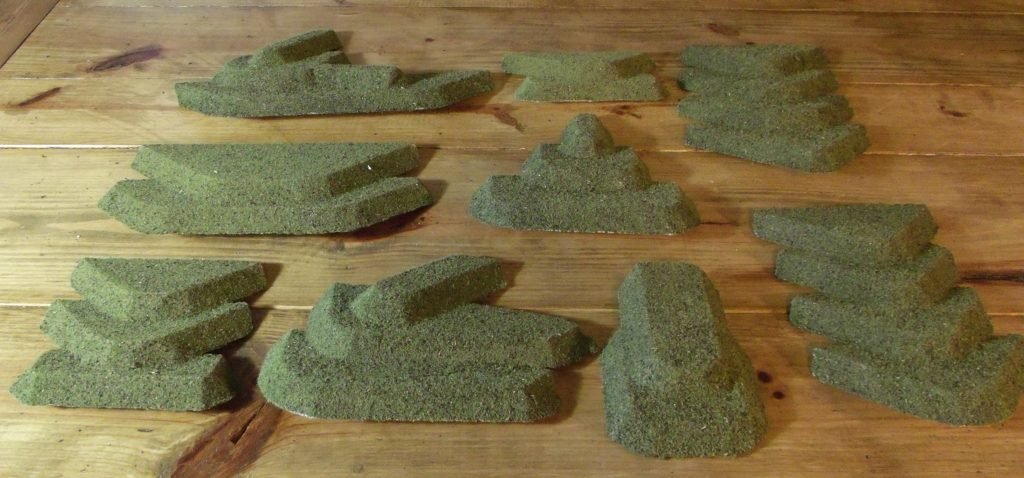
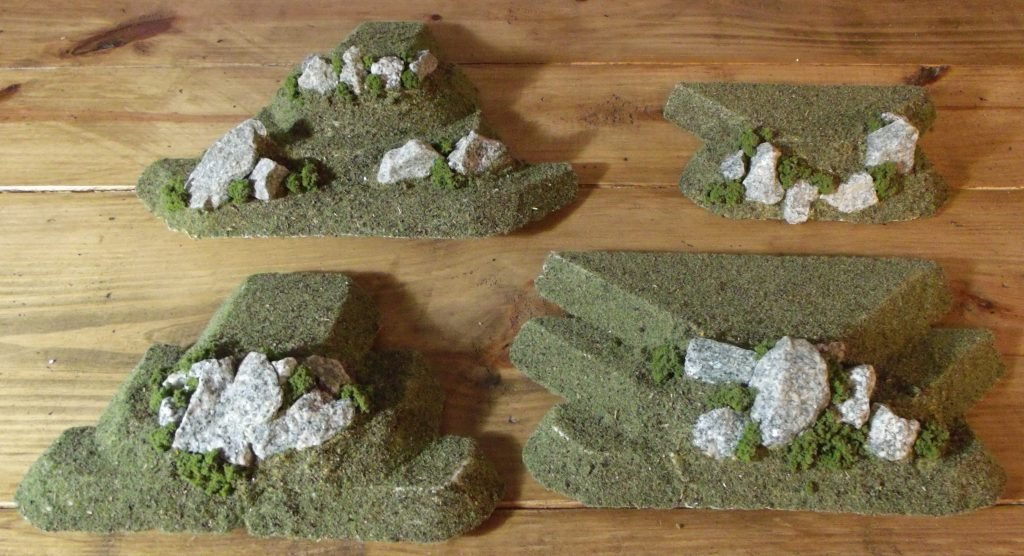
The Detail Pieces are the secret to making the mountains look great. If done correctly they can be placed anywhere on the Base Layer that you want. The key to understand when making these is that, just like the Base Layer, they are are made by stacking. The back edge however needs to be able to conform to the front face of the Base Layer. The front edge can be whatever shape you want, so feel free to be creative.

Start by cutting a piece with the bezel in the back being parallel to the one in the front. The sides should be a continuation of the front bezel. Use an already glued Base Layer as a form to help you space these while assembling. Place the first piece with the back side up against the Base Layer, then apply glue where needed on the top. Place the second layer to ensure that it is against the next level of the Base Layer. Continue this process until you have the desired number of levels.

If you use several identically shaped pieces, this results in a uniform contour that stays consistent all the way up. These are very easy to make and look very natural.
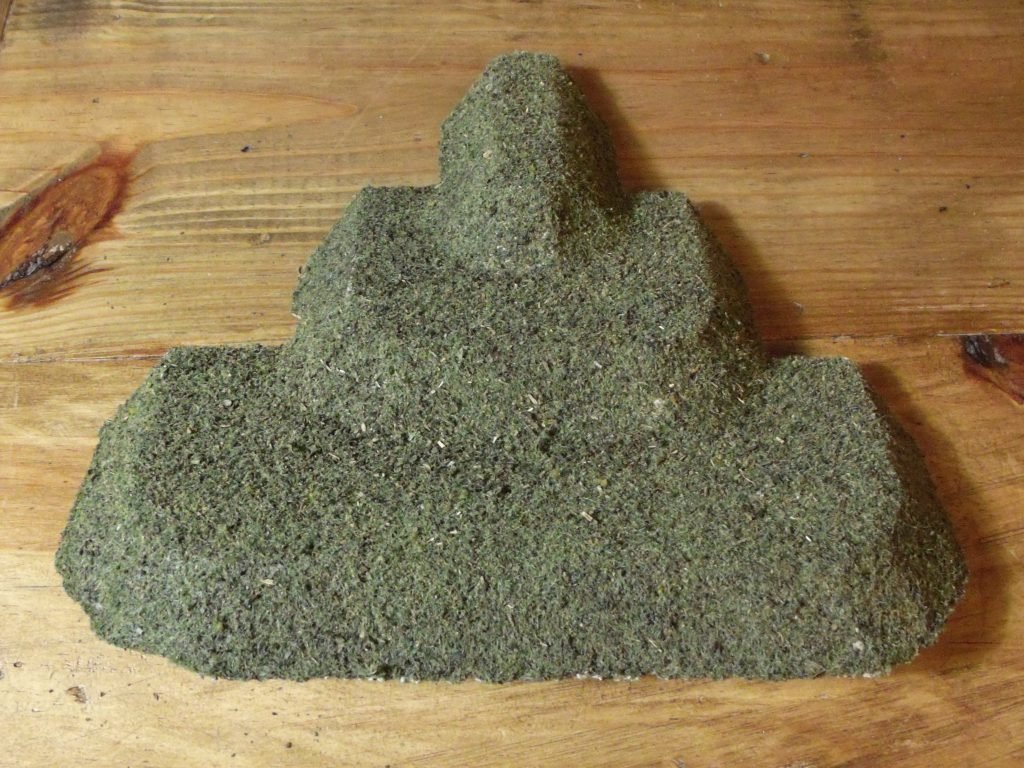


These can be used separately from the rest of the set if a low steep ridge is desired, but they are primarily intended to be used on top of the Base Layer to give a little more height to any ridge. We made ours a lot steeper than the Base Layer ones so the detail pieces won’t work with them. Because of this the ridge pieces were given a lot of embellishments to give them some character.