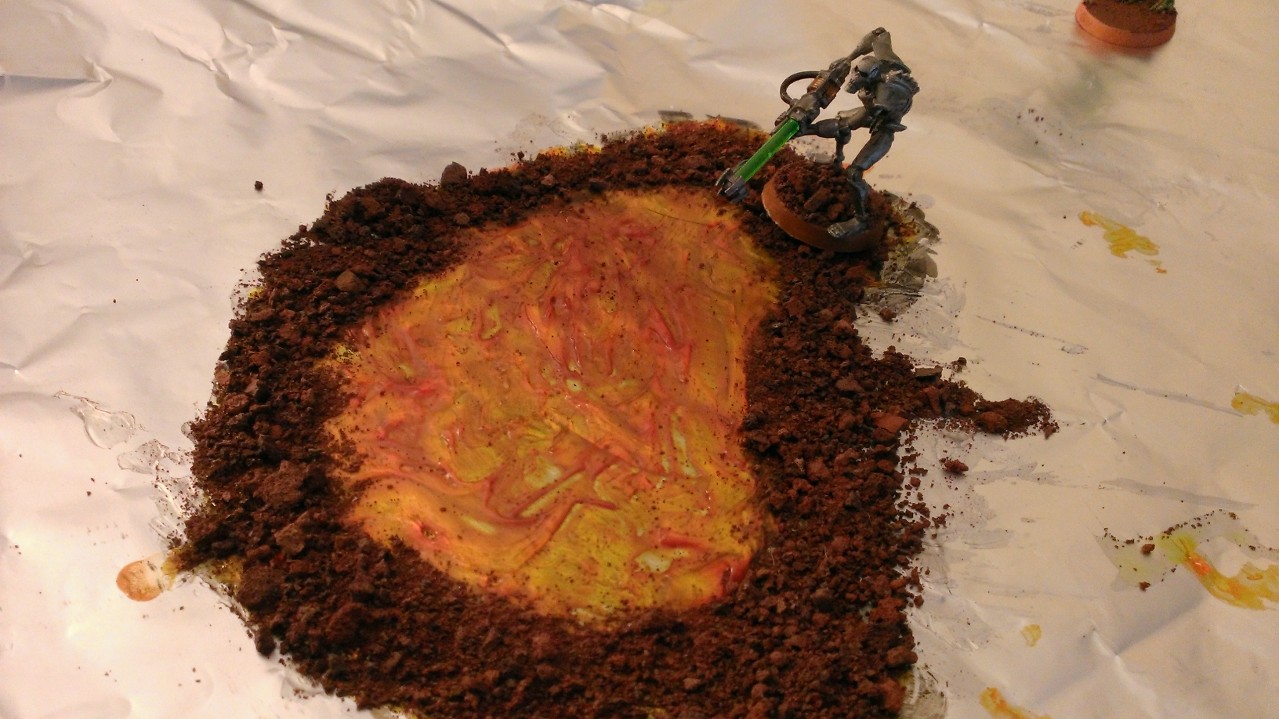
Recently we decided to start up our lava experiments again, trying out some ideas we’ve had stored away. We’ve had more misses than hits, but we’re inching closer and closer to improving our lava. If you missed our original tutorial, you can find it here: The Perfect Lava.

We started by making a lava pool using our normal steps. Keep in mind that taking pictures of something where tin foil plays such a huge role is very difficult. Sometimes the lava will look completely different in pictures of essentially the same thing. That is part of what makes this lava so good to look at, but it also makes it hard to show through static images.
Yup, that was all the same thing, just under different light. The truth is somewhere in the middle.
Now that we have a good standard to compare to, let’s move on to the experiments!
One of the first things we tried was incorporating some lava rocks. It sounded like a good idea, but in reality the water effects is too thin for it to work properly. It ends up looking like rocks are floating on top of the lava, which comes off as unrealistic. This might work if you could cleanly cut the rocks, but I don’t think it would ultimately be worth the effort.
We also tried using some liquid water effects again. It would be nice if this worked, but the dye evens out too consistently. The shallow parts end up yellow and transparent, while the deeper parts are orange/red, and opaque. Ideally none of the lava should be opaque, so it can appear to be glowing hot. It also pooled into a very small spot on the tinfoil, because of the way I left it to dry. The rocks didn’t do much to help this experiment either.


