


Continue the zigzag pattern down the outside edge all the way to the ends.

Once you have reached the last post then extent the post line further and continue connecting the last of the zigzag lines together.

Now use the remaining wire you have by connecting all of the zigzag lines with two straight lines.

This is as far as we would usually get with the first wire.

The remainder of the piece was finished with pieces that were cut to length before adding them in.

Now that the basic weaving of the piece is completed cut all of the loops of the ends. Make sure that you leave enough of a tail that they don’t come unwound. Once it is taken off of the loom, these will be folded back so that they don’t catch on everything.

The back side with the clamping wire should look something like this.

The easiest way to remove the piece is to just cut all of the clamping wires.

Once cut it should pop out of the loom easily, and all you have to do is remove the remains of the clamping wire and bend back the end stubs.

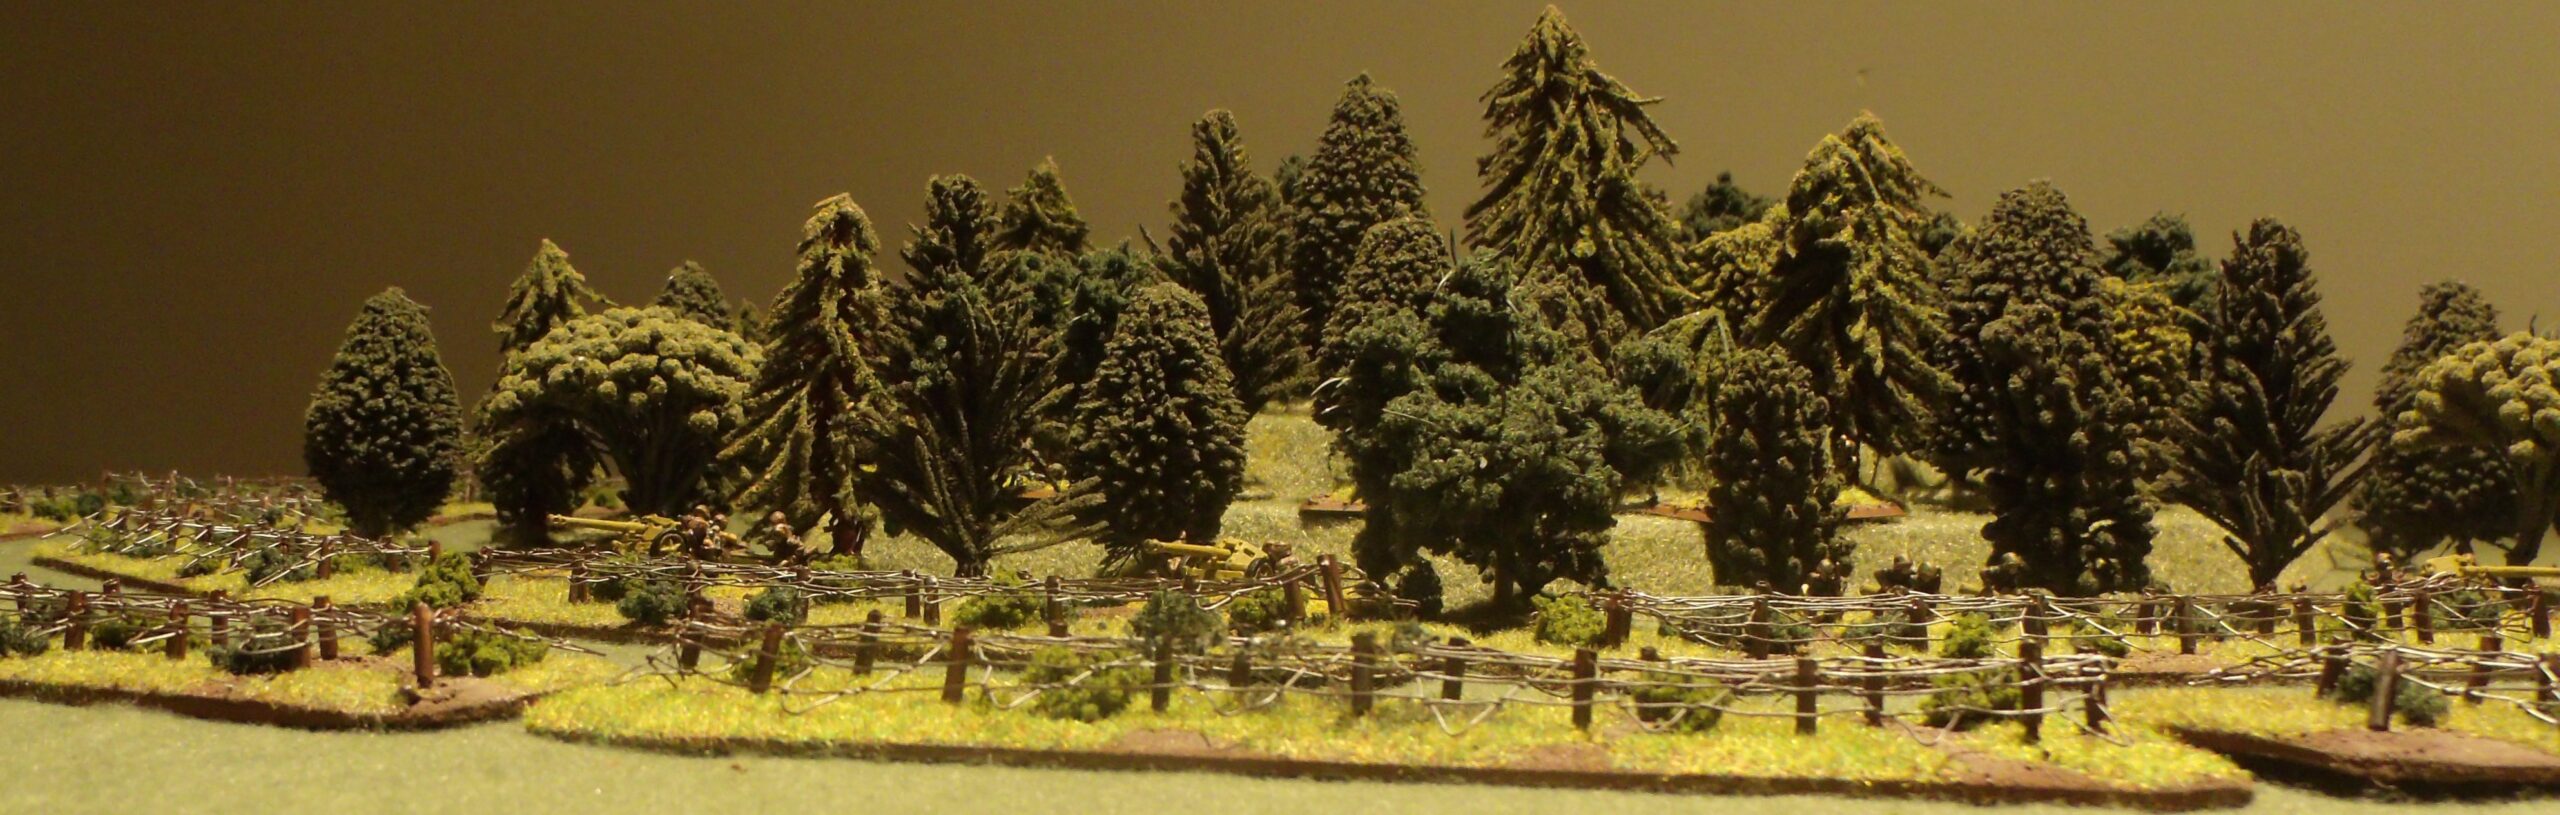
No real changes to the original system of making the bases. They were cut to size, and the locations of the posts were marked with a hole. The post holes were counter sunk, and the edges were rounded before gluing in some upside down thumb tacks.

The wire was primed with a brown paint (that bonds to plastic), and then the metal portions were dry brushed with a suitable metallic shade.

Finish off your bases in whatever manner you want and simply slide the posts down over the inverted thumb tacks.
