
The first stumbling block we came to was that our model was too big for the printer. Instead of printing it out as one piece, we were forced to break it up into four. In order to minimize any seams that might appear, we split it along its edges.


For this first attempt, we tried making the walls as thin as possible, so that we knew the orb on top would sit correctly. This meant that the model was very flexible. The monolith looked good, but it didn’t feel much sturdier than the cardboard version! At the very least, this confirmed for us that the embedded sigils would be much easier to make with the printer than other methods. With the sigils cut out, we can back them with painted lighting diffusers, giving an odd alien look.


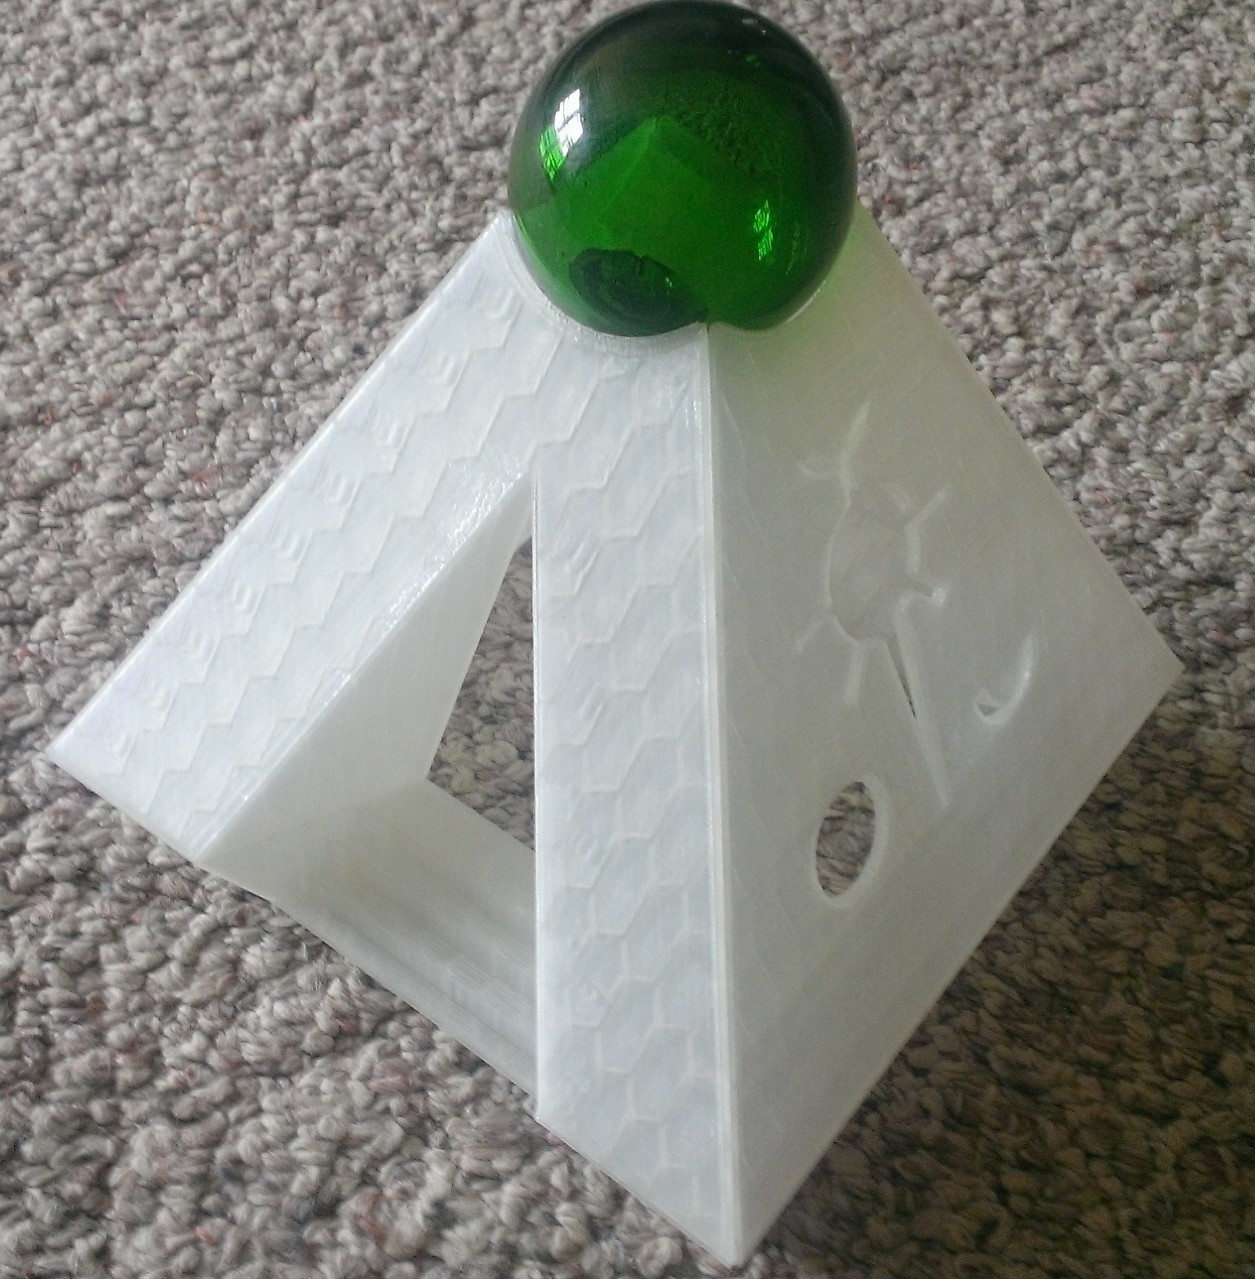
Our next try had thicker walls, which taper off toward the top. We printed it in a clear plastic, and the internal structure ended up being a neat effect.


This one feels much sturdier, and is something we can actually play with! Now that we have the base model printed out, all we have left to do is paint and add on the diffuser panels. Once that is done, our monolith will be ready to float out onto the table top.

